This content series is in partnership with smartwater. smartwater, simplicity is delicious. Click here to learn more.
I always think it's a good idea to go out of your way to do or buy things that help you stay more organized and on top of your life. We've been chugging right along with these home projects, but for the past couple of weeks, the office has been a bit neglected. It's frustrating that we finally have a dedicated, more private space to use as a home office, and we weren't really enjoying it! Earlier this week I took a stand and started decorating without any forethought. It was actually really fun to just work with what I had on hand.
One thing that I decided I really needed and wanted this go-round was a calendar whiteboard, but just for my blog posting scheduling. It's so helpful for me to plan out posts this way - it helps keep me on top of projects.
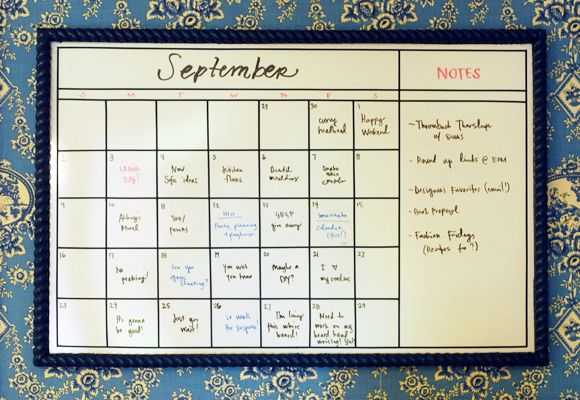
I looked around for some simple pre-printed calendar whiteboards and there's not much of anything I liked, so I decided to make my own. I used this whiteboard and it is really good and incredibly cheap. I also used two rolls of this tiny chart tape.
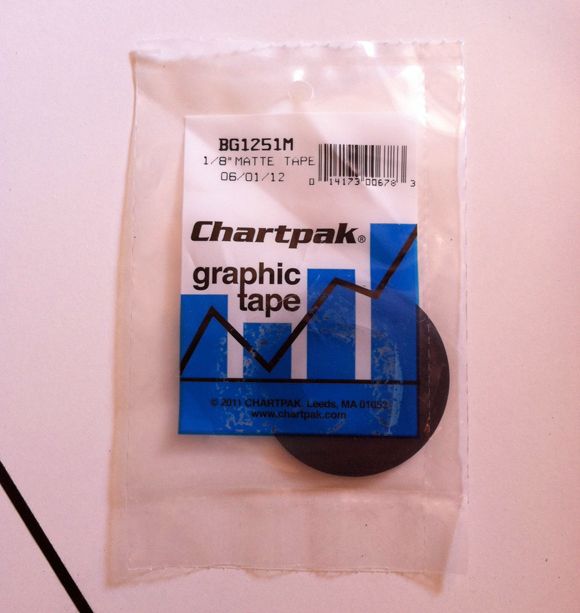
It's 1/8" wide and it's super easy and really fun, actually, to work with. I had grand plans to mark everything out and use leveling tools, etc. But the tape sort of took over before I had a chance to be responsible about the thing! It's just so easy to use, I ended up eyeballing it all! Cutting small strips of tape to help mark out the spacing first helped a lot.
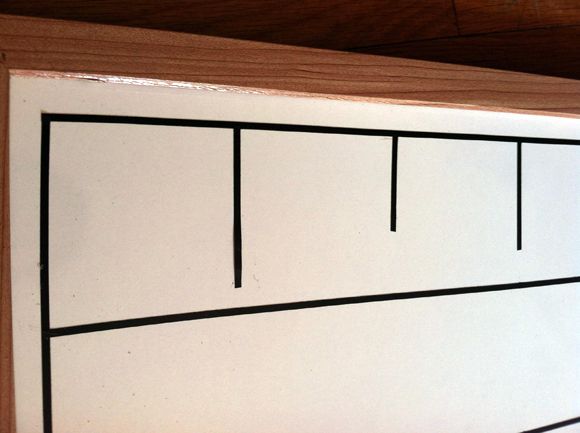
It's not perfect but I don't mind. The tape is totally repositionable, so I can fix it later if I want to.

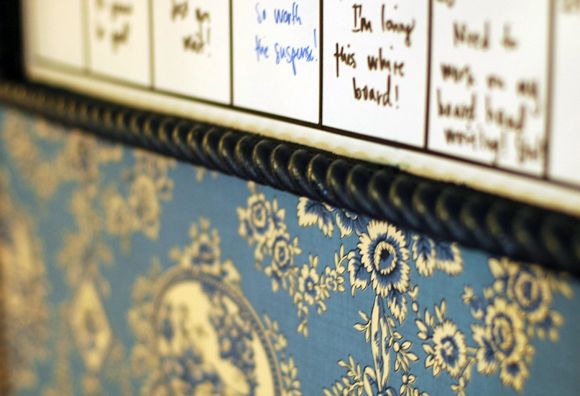
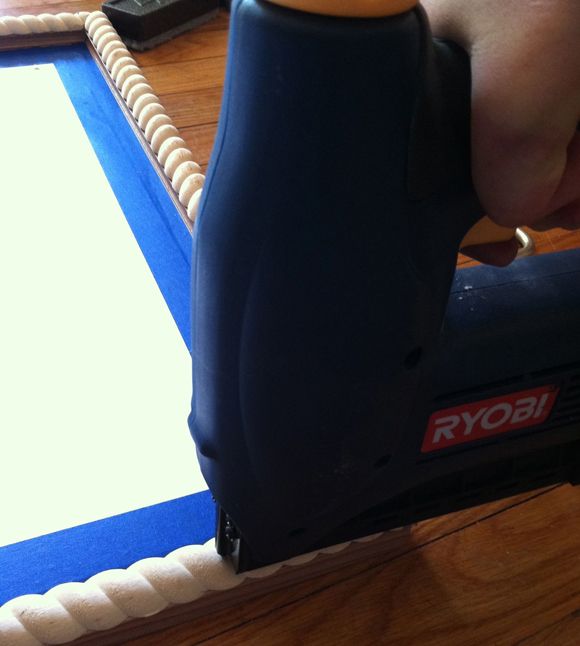
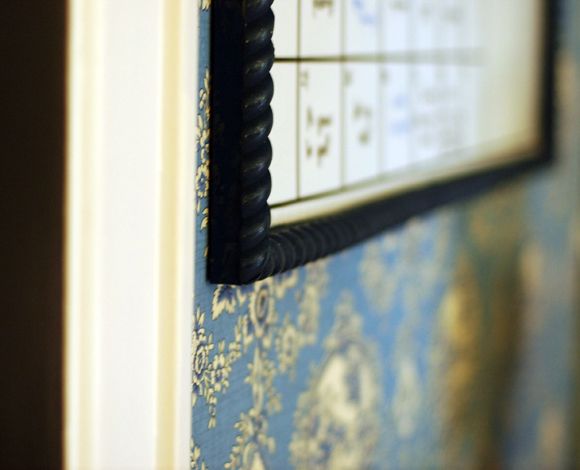
I like the way the tape turned out (I wanted the design there to be very simple), but the frame was sooo boring. I had my miter saw and my brad gun handy from all the moulding we've been adding in other parts of the house, so it was easy to add trim to the existing whiteboard frame. If you don't have either of these tools, a hand saw and some finishing nails work just fine! I used the pretty rope moulding I've always loved.

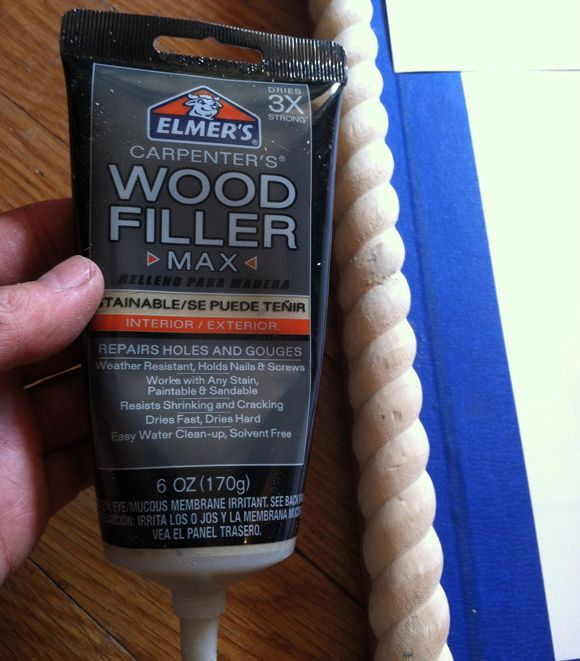
Once the moulding was cut and nailed, I filled the nail holes and corner gaps with this amazing, new-to-me wood filler. It is thicker, and just plain awesome. Recommend!
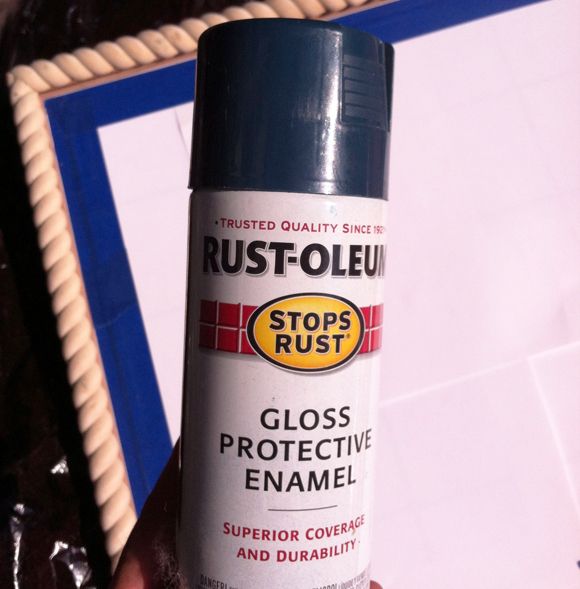
I sanded down all the trim once the filler dried, papered and taped the whiteboard, and then sprayed the frame with one of my favorite spray paint colors - Night Tide from Rustoleum. I'm sad it keeps looking black in all these photos. In real life, the color is a moody, deep forest/peacock blue color. I love it.
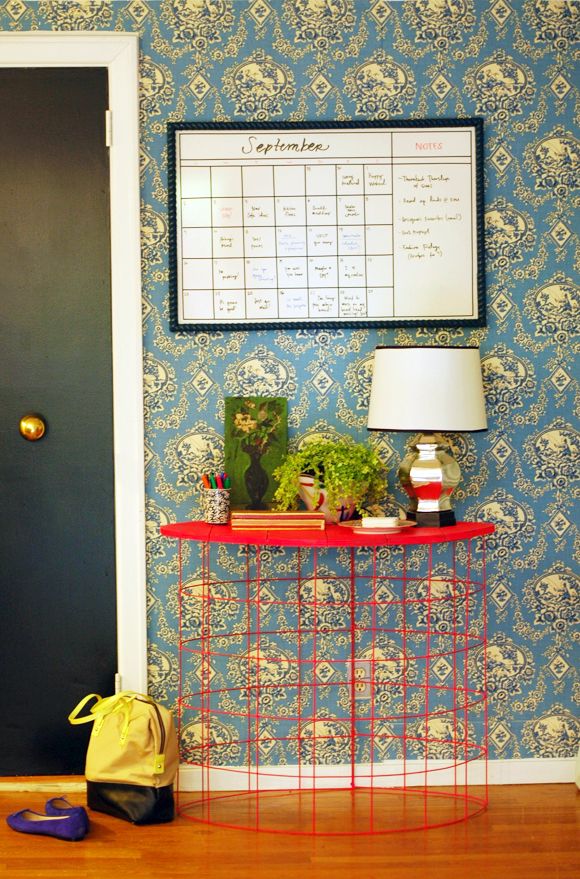
I let it dry and off-gas for about a day and then hung it up in my newly spruced office. I'm feeling 100% more organized already.
Going forward, all I have to do each month is fill in the date numbers, and then brainstorm what posts will go live when. It's so helpful to have the reminder up on the wall where I will see it every day. I'm such a visual person that writing to-dos and seeing lists in front of me is pretty much a necessity. I'm thinking of making one for the girls room, too. I know they'd get a kick out of keeping track of soccer games and ballet practices.