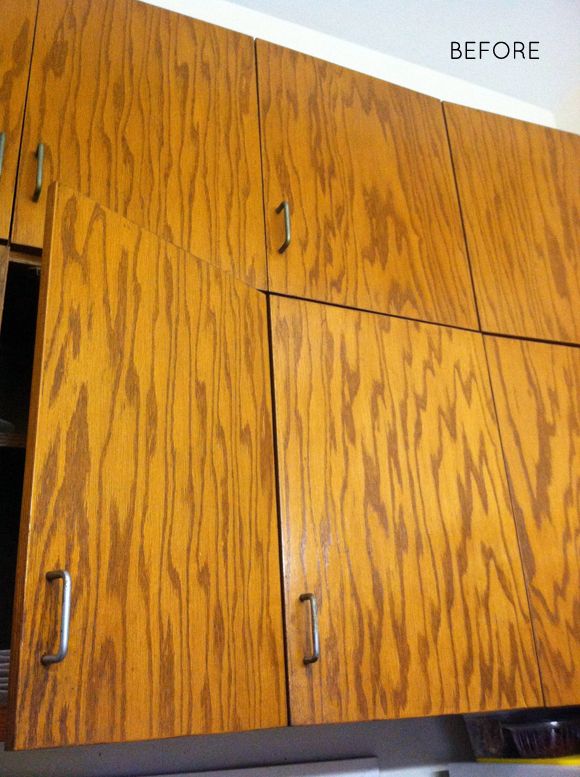
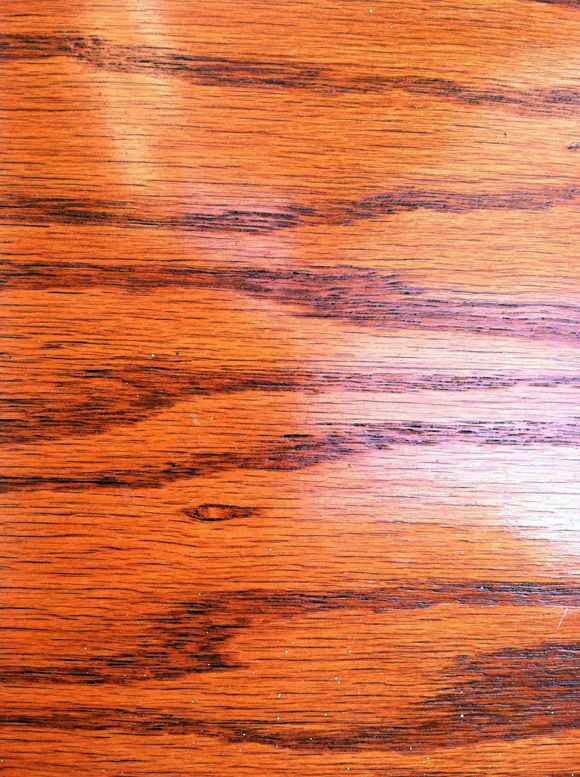
The first step was to sand down the fronts. The goal was to remove most of the old sealer and finish. No amount of sanding will remove a heavy grain.
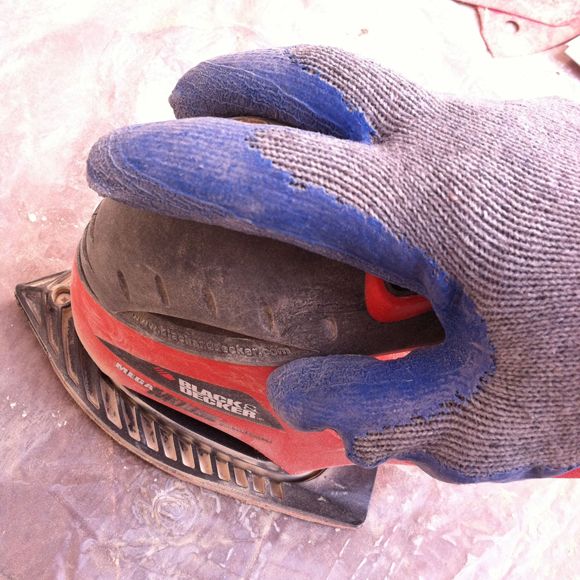
Do you have any of these dipped work gloves? They help absorb some of the sander's vibrations when you have a big sanding job to do!
Once everything was sanded down and the old hardware holes were filled, I wiped all the dust away in preparation for the grain-filling. I found this product online and thought I'd give it a shot. It comes in a quart size and I used about 3/4 of the can for 19 doors and drawers.
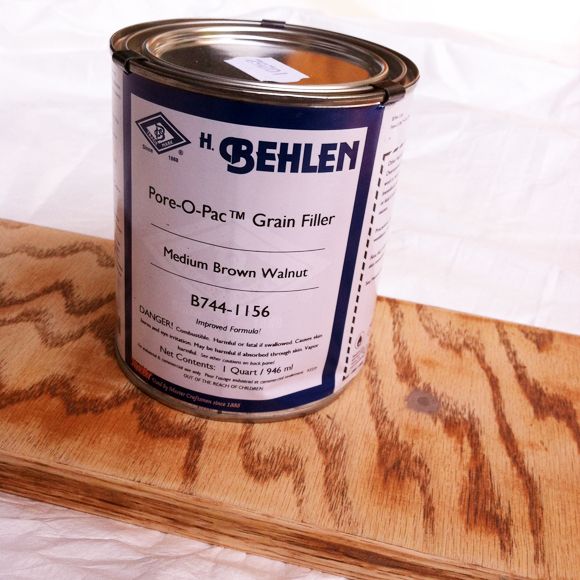
It looks like tar and has a super heavy odor. This is definitely an outdoor project!!
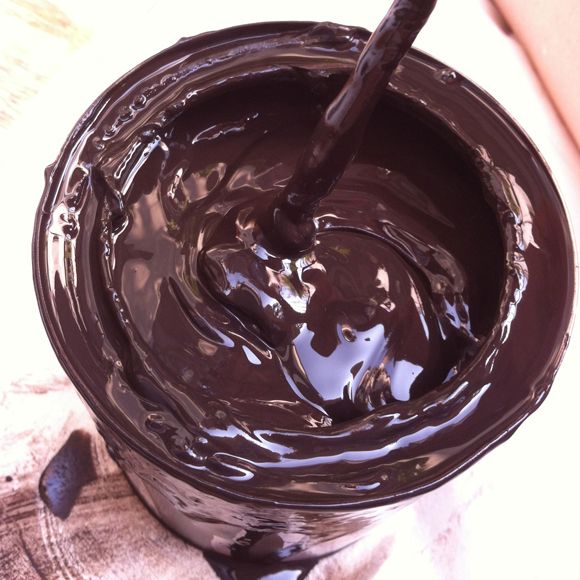
I was nervous going into this, because they made the directions look really complicated. But in reality, it couldn't be easier - you just slap it on and rub it in! :)
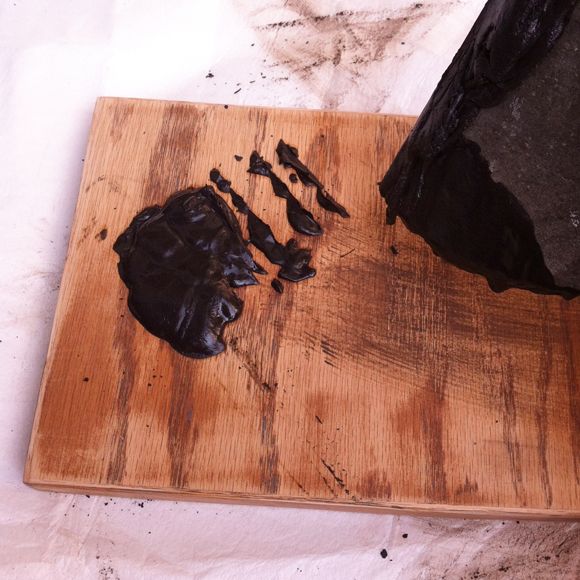
The directions suggest using a wide putty knife, pulling down on the diagonal of the grain.
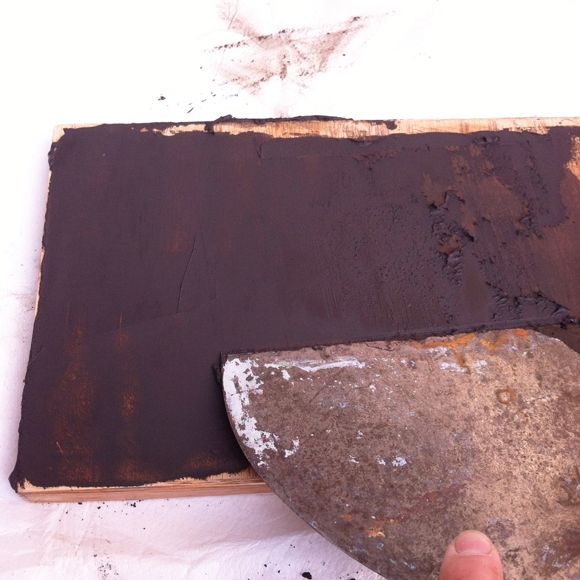
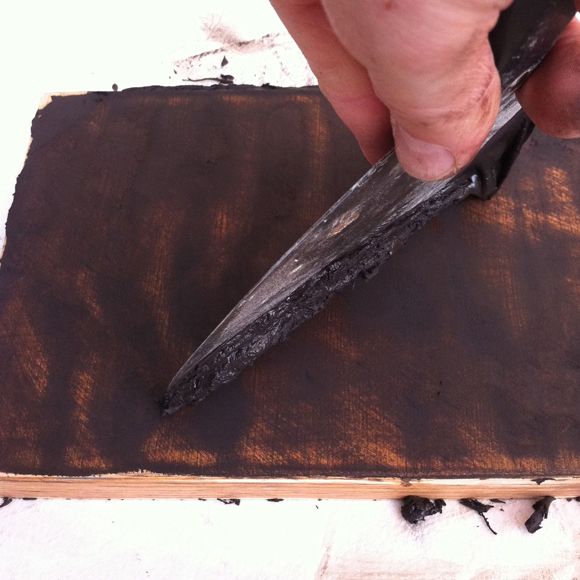
After trying that for a while, I found that it was a faster job to just rub in the filler with an old rag. I felt like I had more control with the rag and I could push the filler into the grain with more pressure.
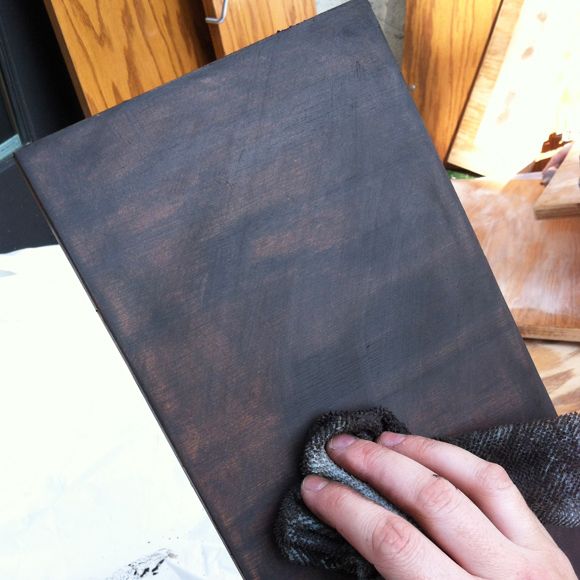
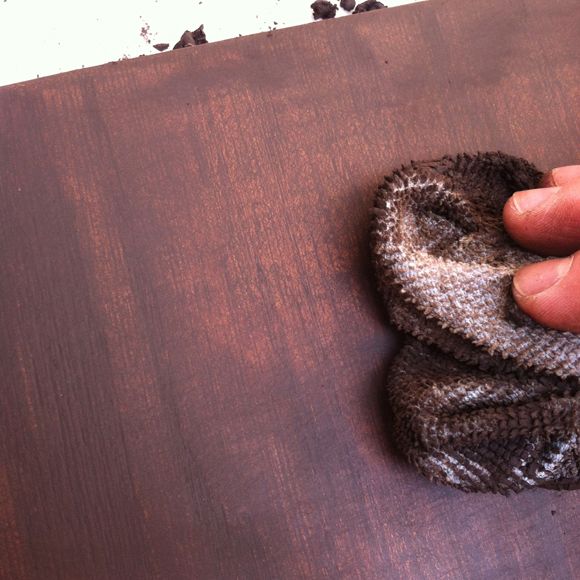
While you can still see the grain patterns, it's super smooth to the touch and you won't be able to see any of the old grain when they're all painted and hung. So happy with the results!
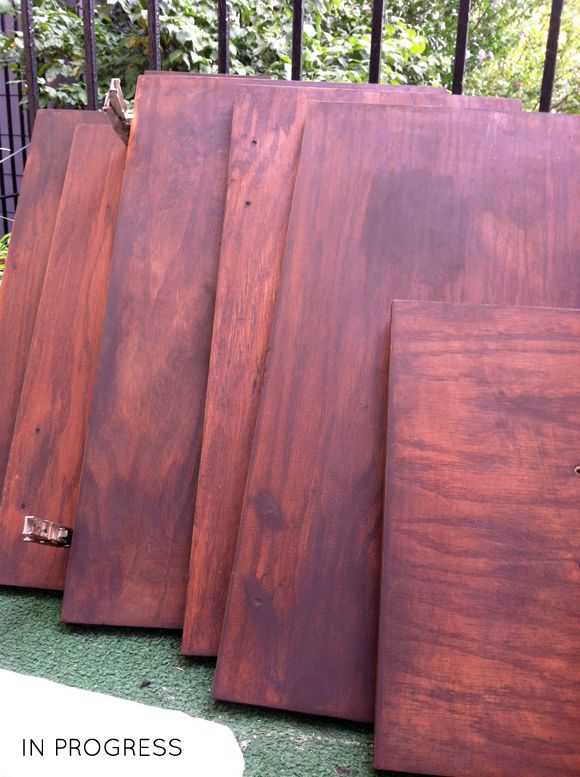
Next up: framing out the borders of the doors with trim, and priming/painting! See my kitchen reno plans here.
PS You could totally use this stuff to fill the heavy oak grain on those cheap, 90s oak "farmhouse" dining tables. The filled grain will still accept new stain (the filler comes in different shades - the one I used here is dark) and of course you can paint it, too. It just needs some time tolet the solvents fully dry out.
Have you ever used this product or anything like it?