I teamed up with The Home Depot, Maytag and Tide to celebrate a summer promotion where if before August 2 you buy a select Maytag washer and a 150 oz bottle of Tide, you'll get a $100 Mastercard gift card. My part of the celebration is sharing my laundry room redo along with my best tips on renovating a laundry room on a budget. The extra exciting part is The Home Depot, Maytag and Tide are giving away a Maytag washer and dryer and year's supply of Tide HD that comes with a laundry room design plan courtesy of yours truly, AND, wait for it... $5,000 to do it with! So fun, right?
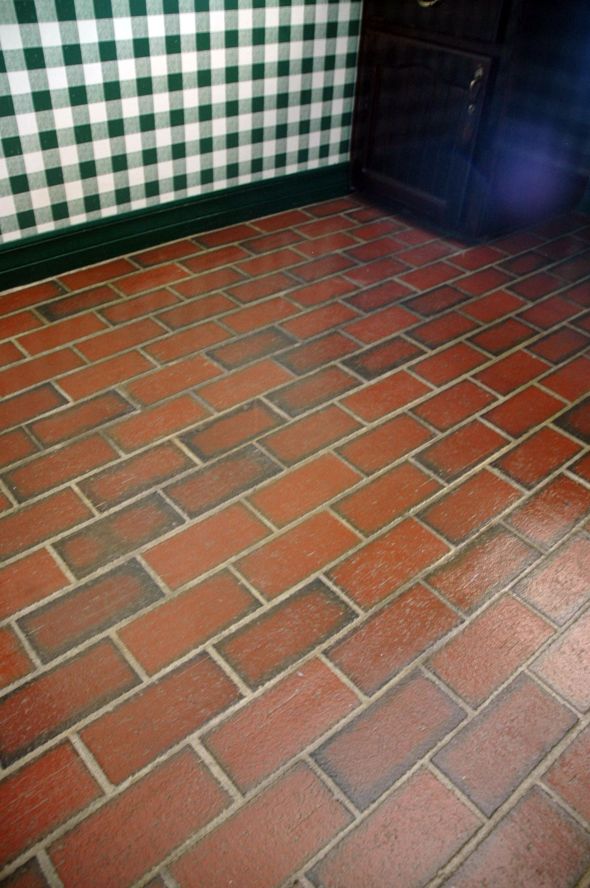
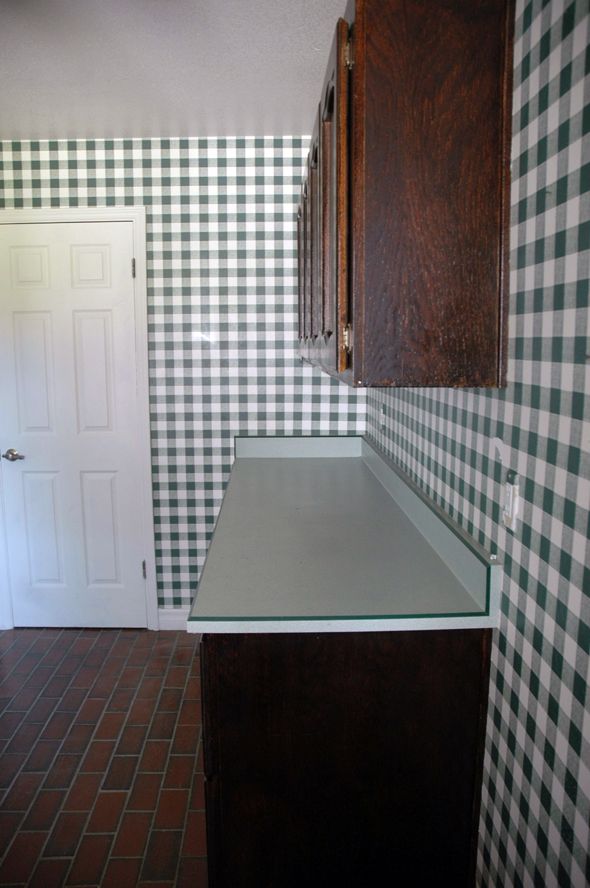
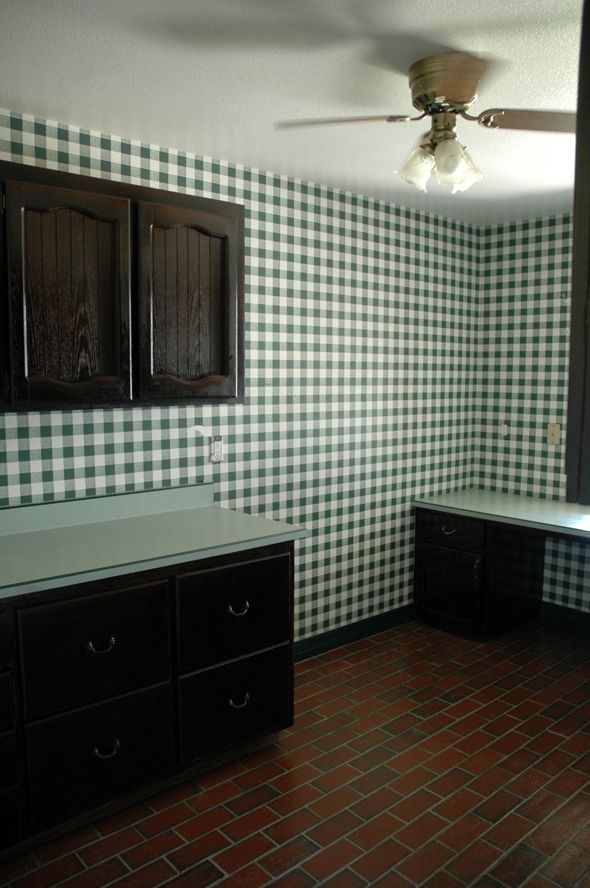
But first, I want to show you what Michael and I were able to do on a tight budget in our sad, green checkered laundry room.
I was tempted to start from scratch in here. But when it was time to figure out a budget for this room redo we were also picking out floor$ and front door$, so I was like, yeah... you know what, we're going to just paint everything in here and see what happens. :)
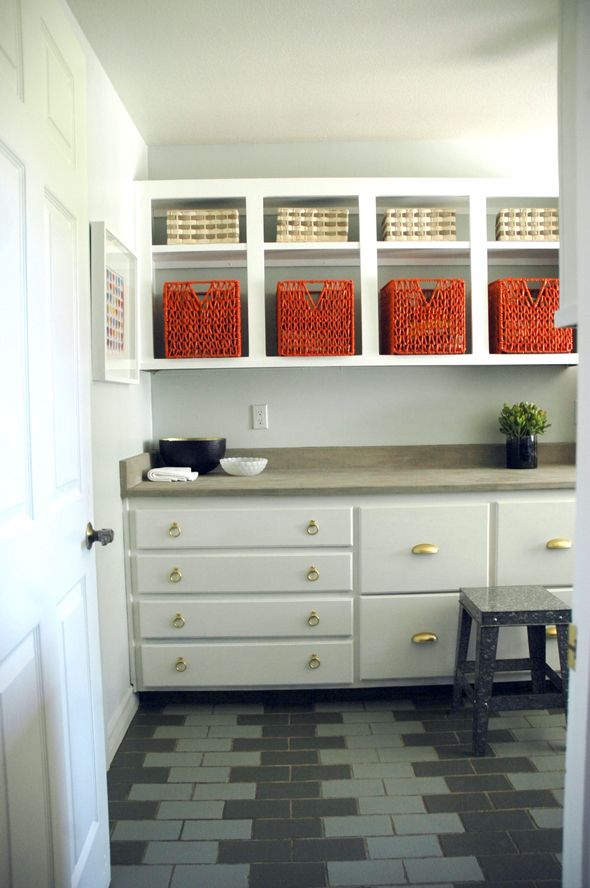
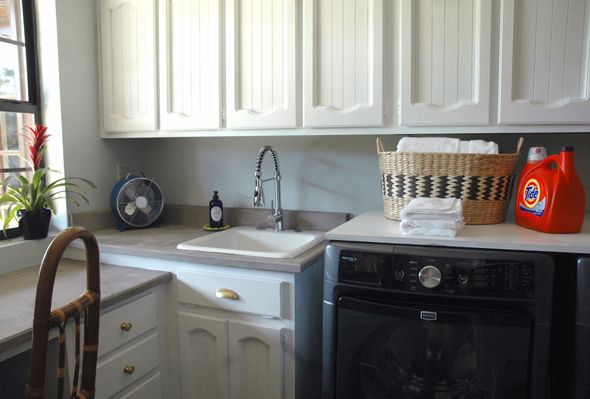
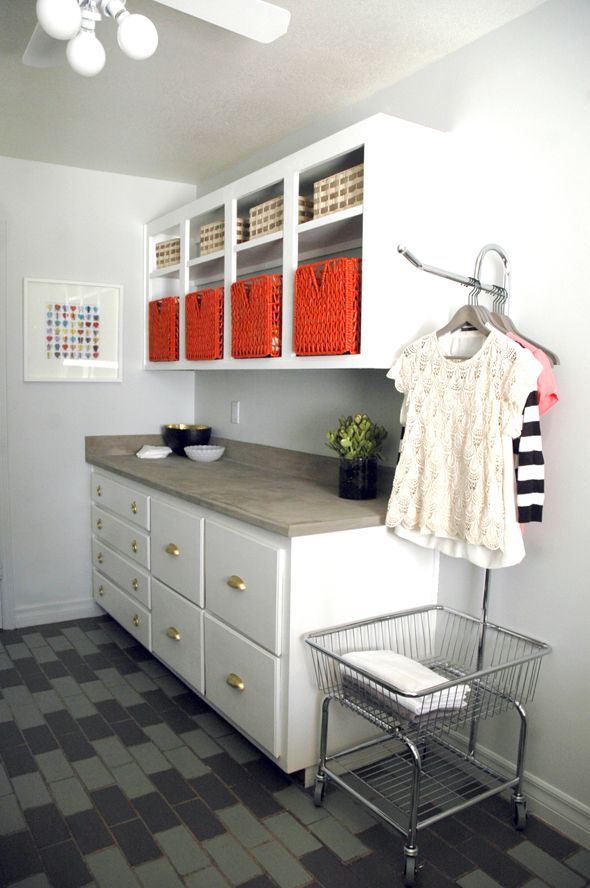
The walls were painted Benjamin Moore's Cashmere Gray (one of my favorites - it's a soft green-blue gray) and the floors were painted two and three shades darker on the same card. I think keeping the paint colors in the same color family helped the floors to not look so crazytown. I used water-based alkyd paint on the floors which holds up as well as oil-based paint, but dries lightyears faster and is a breeze to clean in comparison.
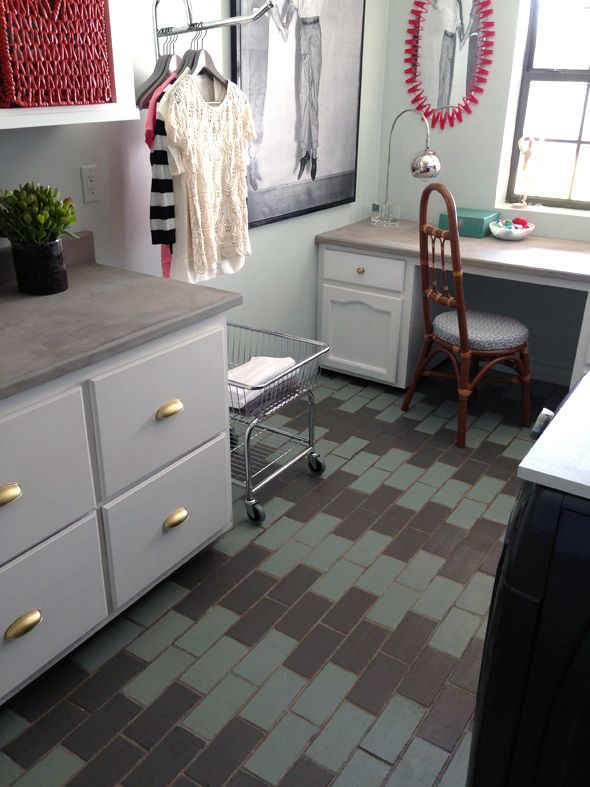
Kind of looks like a stripey ikat right? So much better than the before.
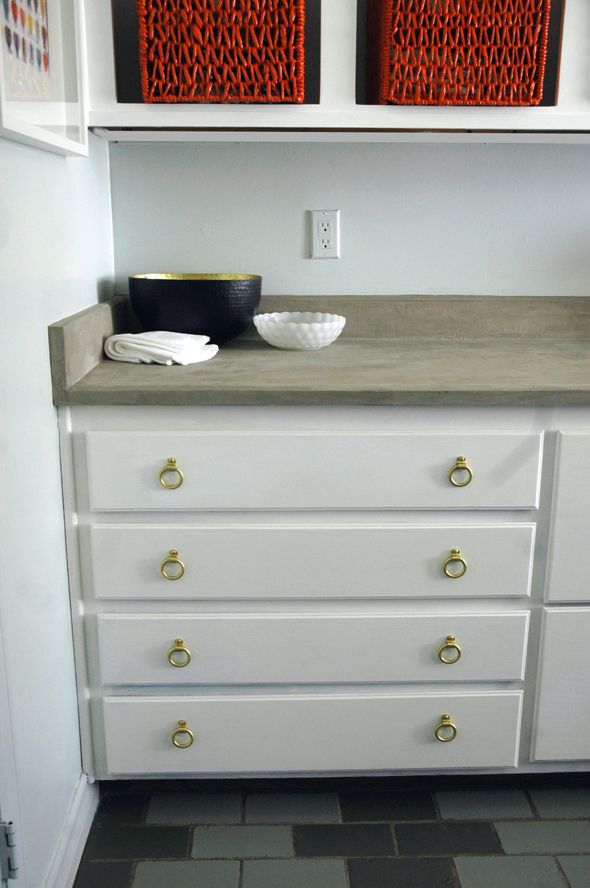
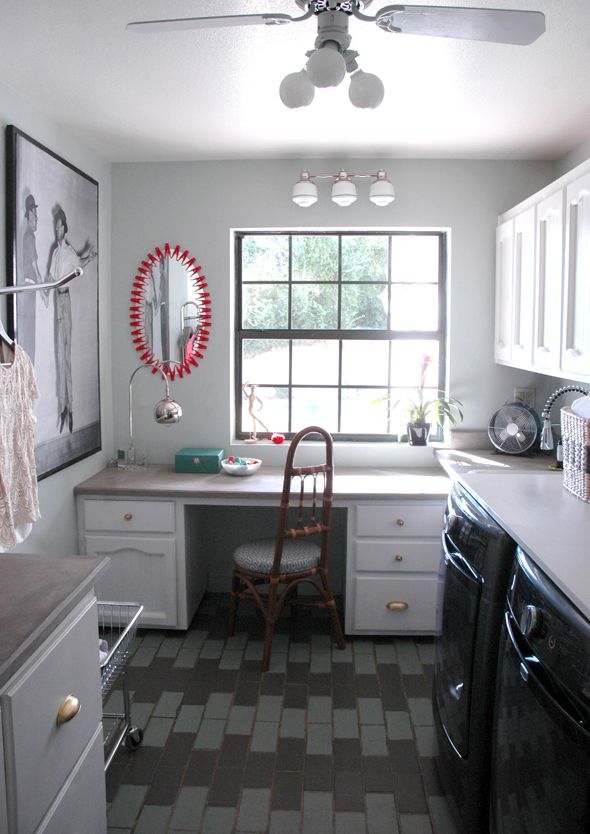
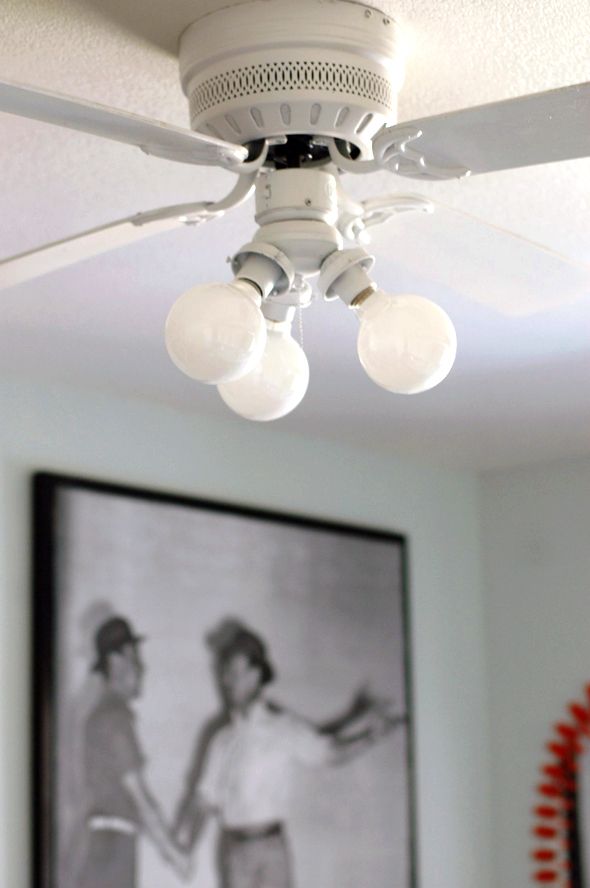
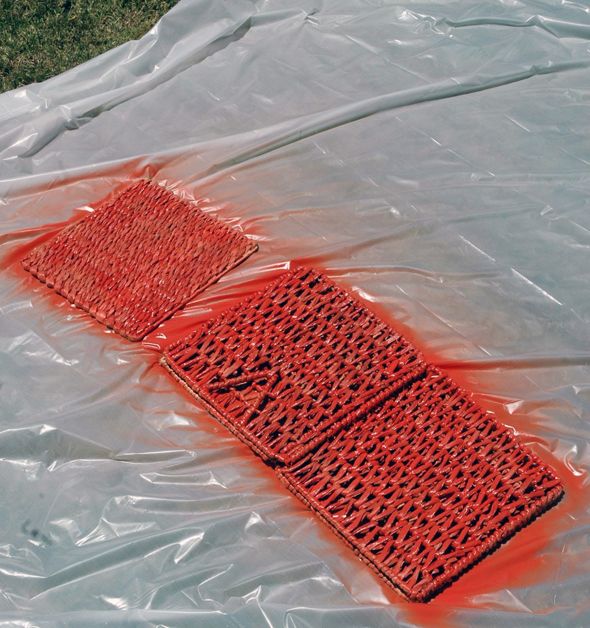
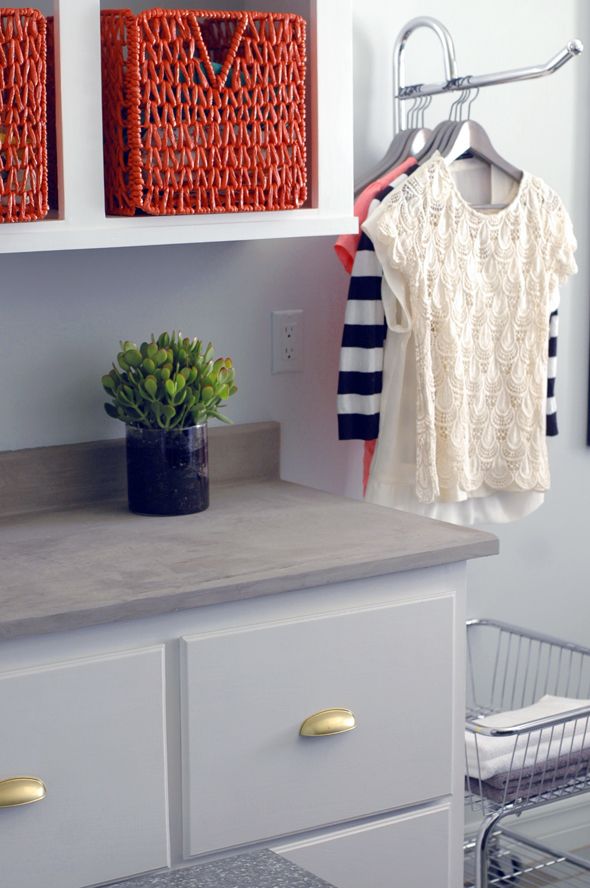
Other things that were painted in the room besides the walls and floors? The ceiling fan (just white spray paint!), the cabinets (Ben Moore's White Dove in semi gloss), the mis-matched new hardware (three cheers for gold spray paint!), the IKEA woven baskets (spray painted tomato red!) and the new light fixture above the window (made the green line on the globes with green nail polish!).
We purchased a few new things for the room to make it more functional. I found the pull-out spray faucet for a great price on eBay and let me tell you - it is changing my life to have a deep utility sink and a really amazing faucet in my laundry room! :)
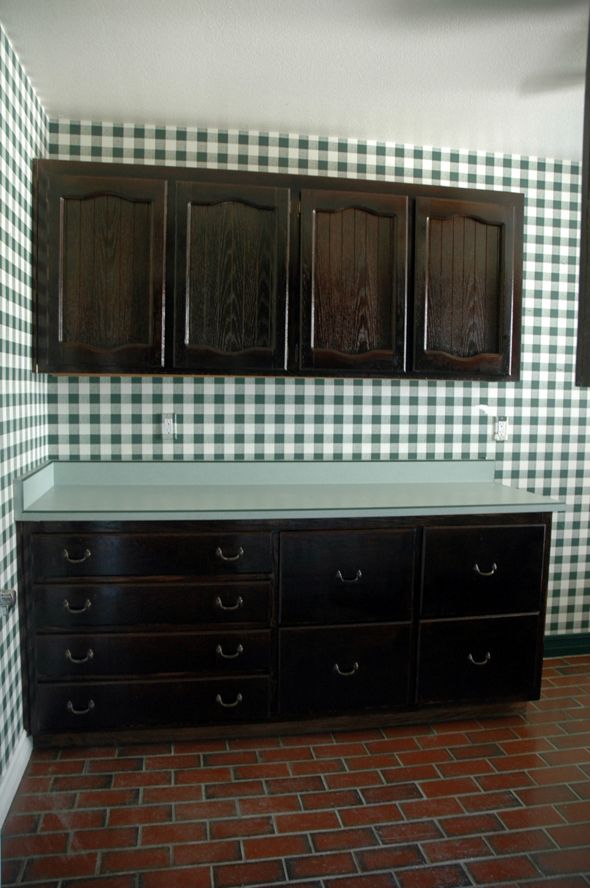
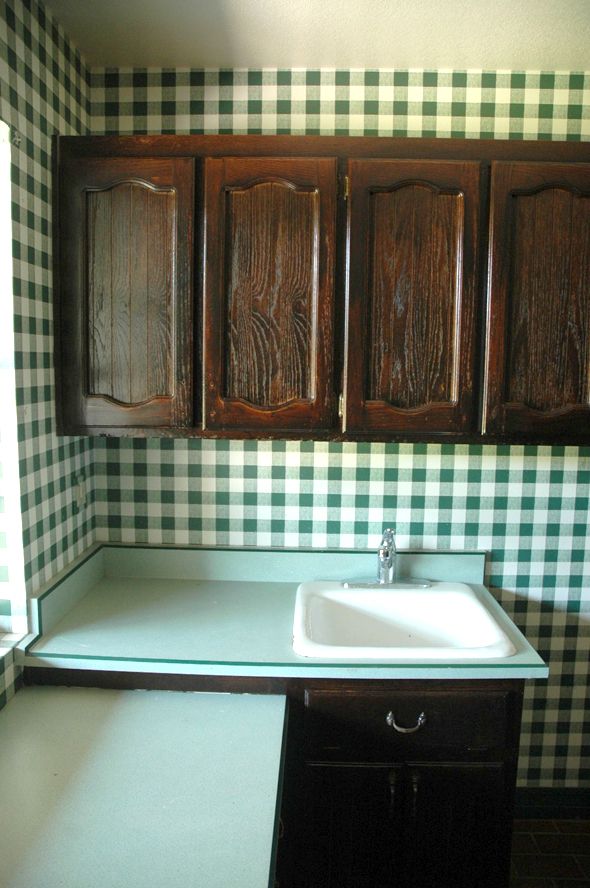
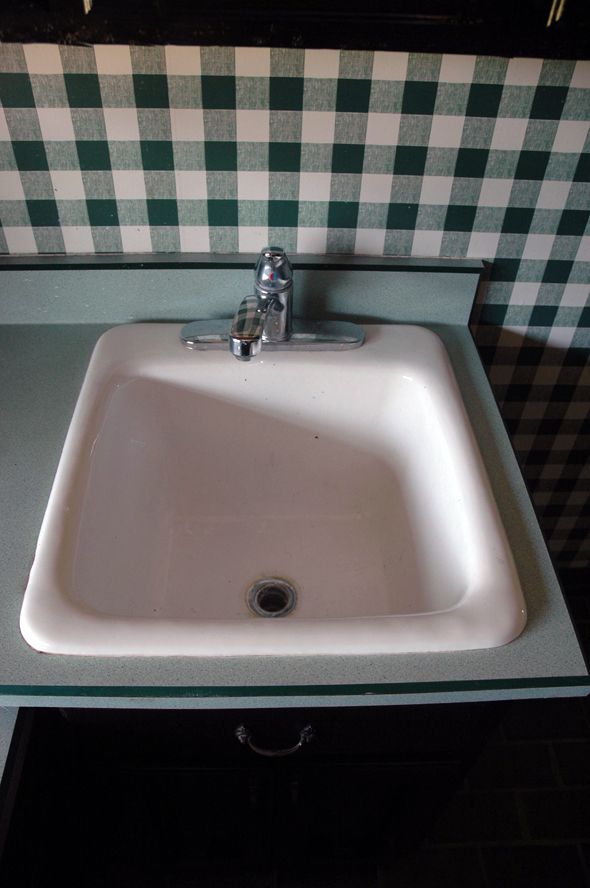
The sad before:
I wasn't sure about keeping this sink (was really wanting to put in that IKEA apron front that I've been eyeing) until we had to pull it out to replace the faucet. This thing is quality. It weighs about a million pounds (cast iron) and it is extra, extra deep. It's perfect for projects and it cleaned up really well with a little Bar Keeper's Friend.
There wasn't really a space to add a hanging bar in here, and seriously who doesn't love a rolling laundry cart? So when I stumbled across this laundry butler online that was exactly counter depth, it was a no-brainer purchase.
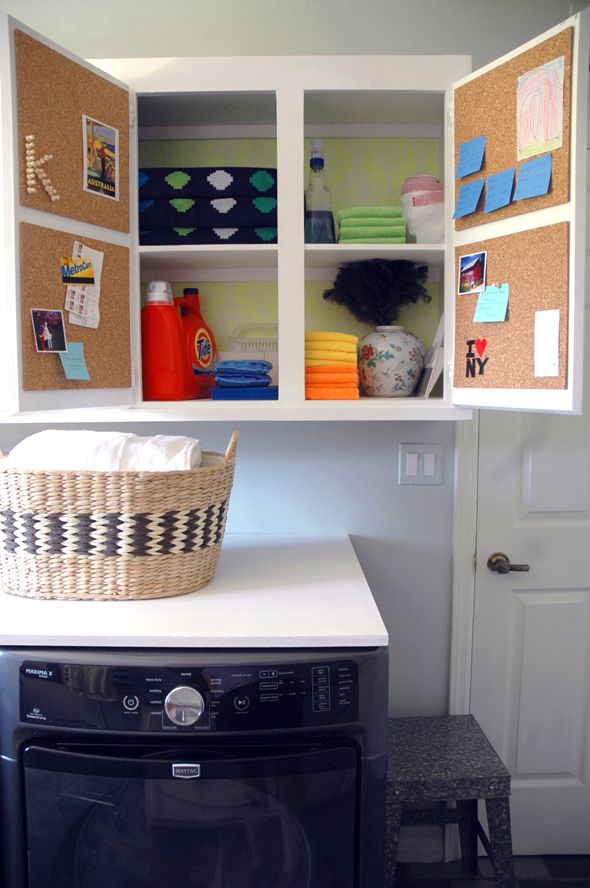
You can see here above how we opted to take off the doors on part of the upper cabinets. Here's what the uppers looked like before:

My sweet and totally ripped sister, Ali, basically karate chopped her way through the bottom shelf so we could get it out of the cabinet frame. True sisterly love right there.
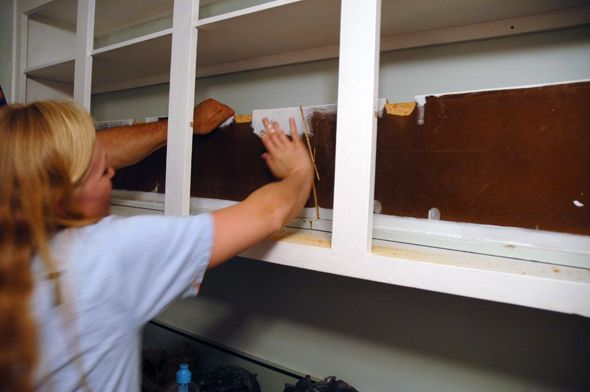
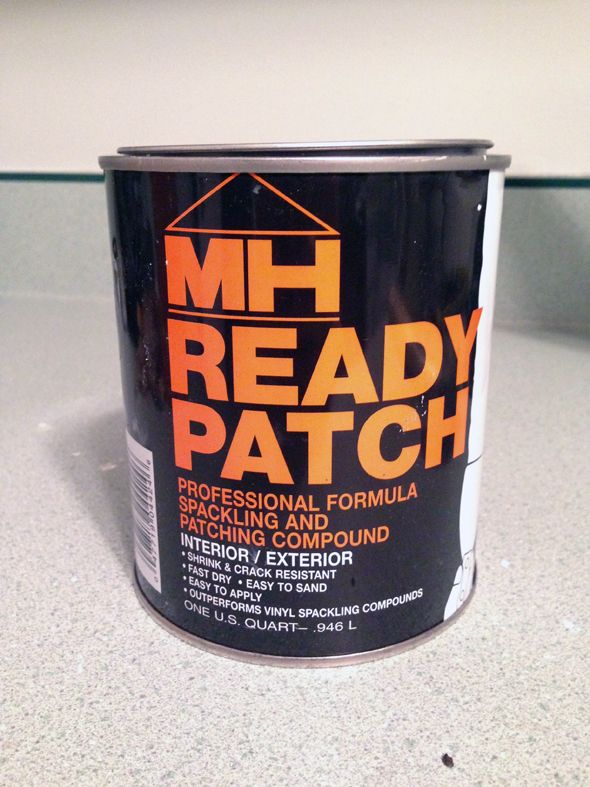
Once the doors were off and the bottom shelf was out, we could fill the holes and sand the imperfections and then touch up the paint. I discovered my new favorite putty/patching compound
We added a little furring strip to the bottom of the cabinet and to the fronts of the top shelf to finish off the edges. This helped the shelf look SO much better.
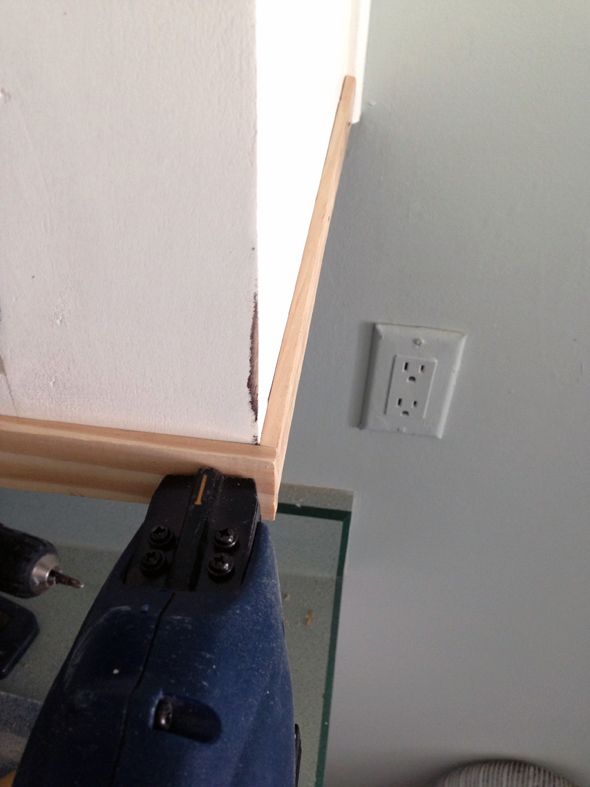
We also painted the backs of the shelf the color of the wall. I think between that and the addition of the furring strips, the cabinet started to look like a wall shelf instead of uppers without their doors.

We added a furring strip to the bottom of the upper cabinets on the other side of the room too, just to help finish those off as well. I wish we could have replace those doors so much, but I think the white paint helps clean them up a lot and they're not so, so country now. Compromises for the budget! :)
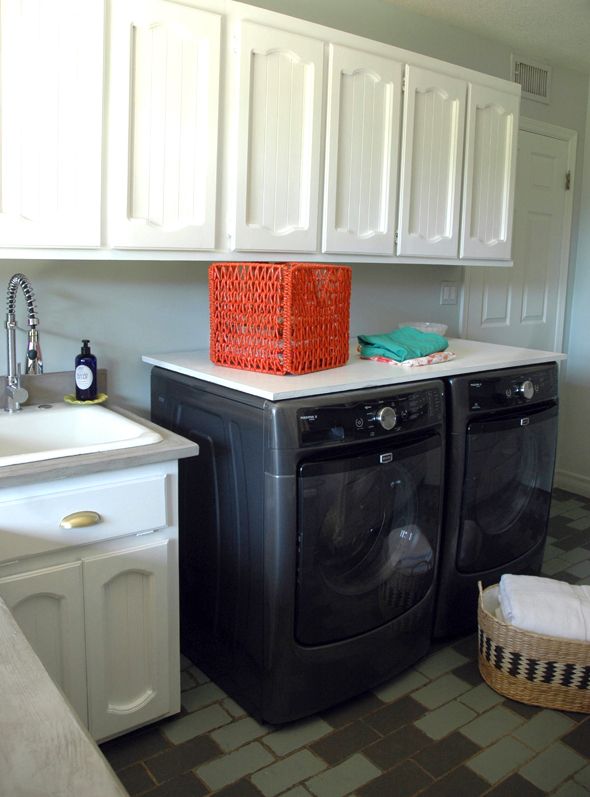
I also had a piece of MDF cut to fit the top of the new Maytag appliances for a make-shift folding station. Someday, I'd love to get a piece of remnant stone cut to fit, but the wood works well for now. No baby socks falling behind the dryer in this house!

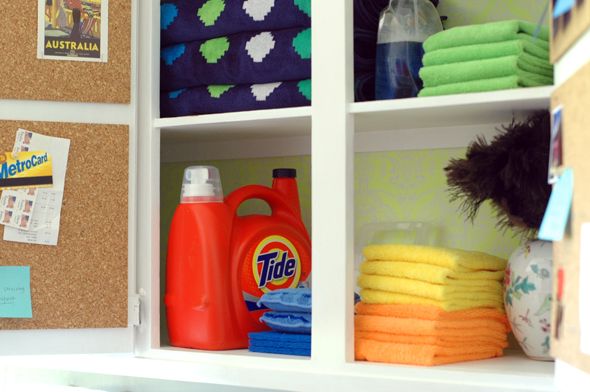
In the upper cabinets above the appliances, I modpodged the backs with neon gift wrap from Homegoods (the best place to buy wrapping paper IMHO).
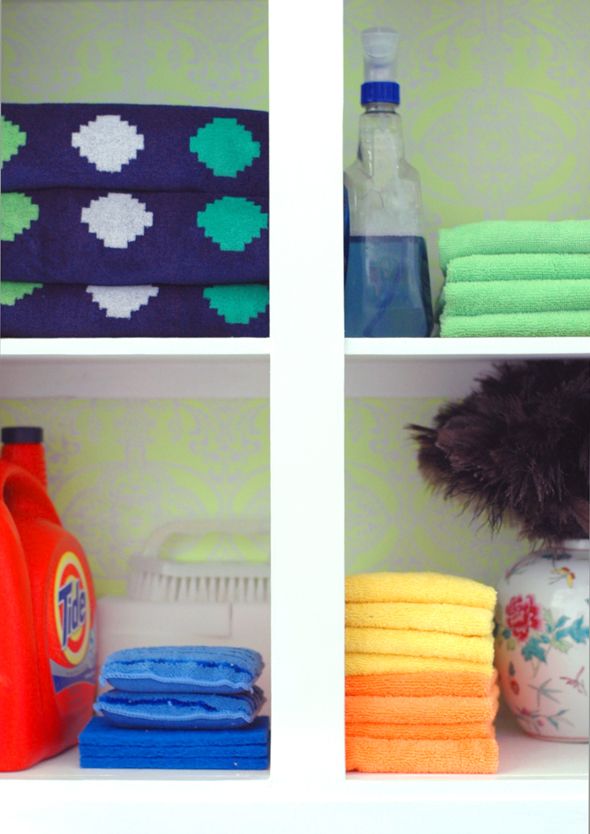
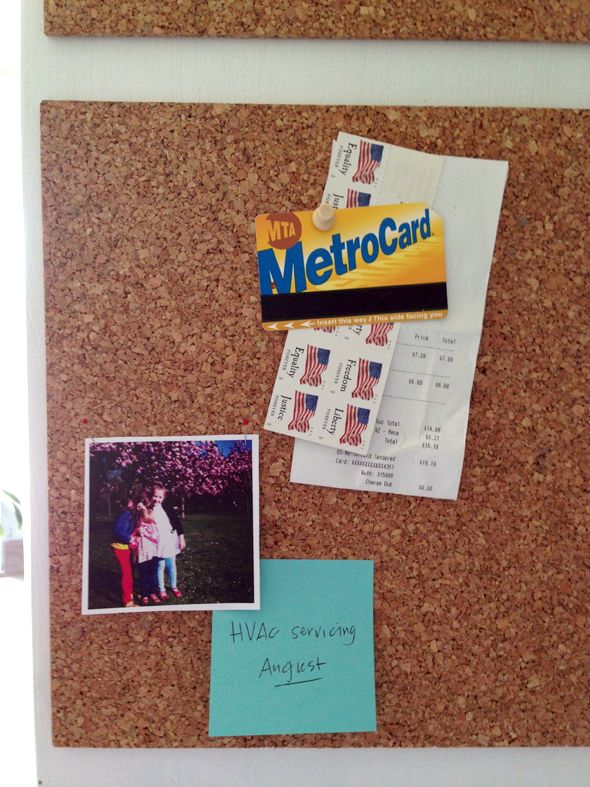
I also added cork tiles to the insides of the doors for pinning up little reminders and momentos that make me smile while I'm reaching for the detergent.
I needed some cheap wall art in the room so I did my $4 print trick using a quirky image I found online of Gene Kelly and Fred Astaire.
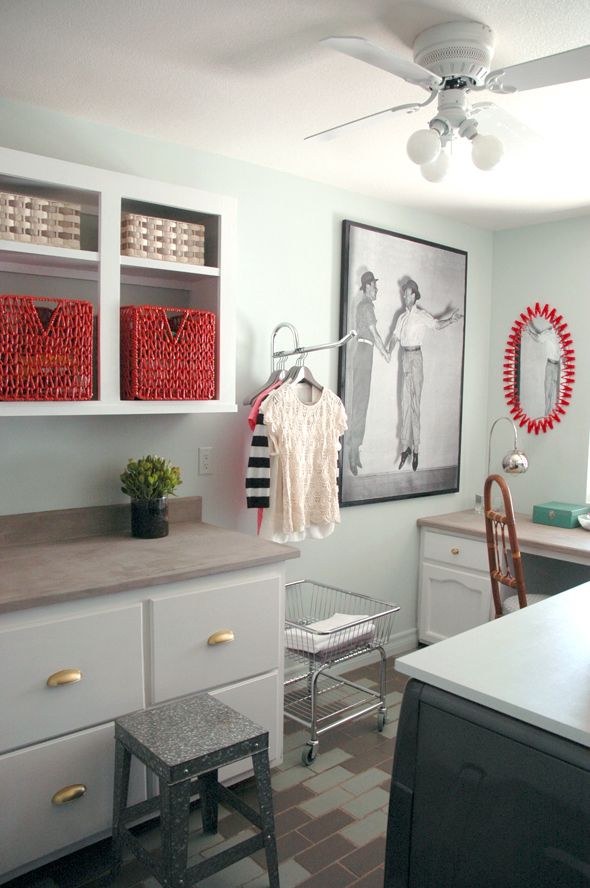
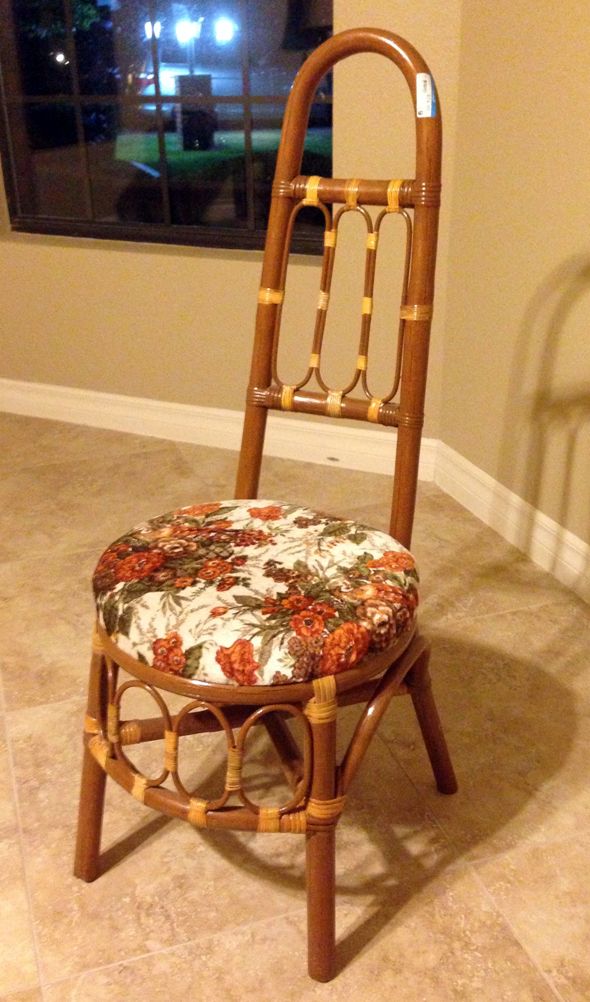
I also made a sunburst-esque mirror out of laundry clips from IKEA that I thought turned out pretty cute. The arc lamp is from Homegoods. I found that little chair at Goodwill for $15 and reupholstered it in some Dwell Studio fabric from Home Fabrics in Mesa that was about $7/yd. Love that store so much.
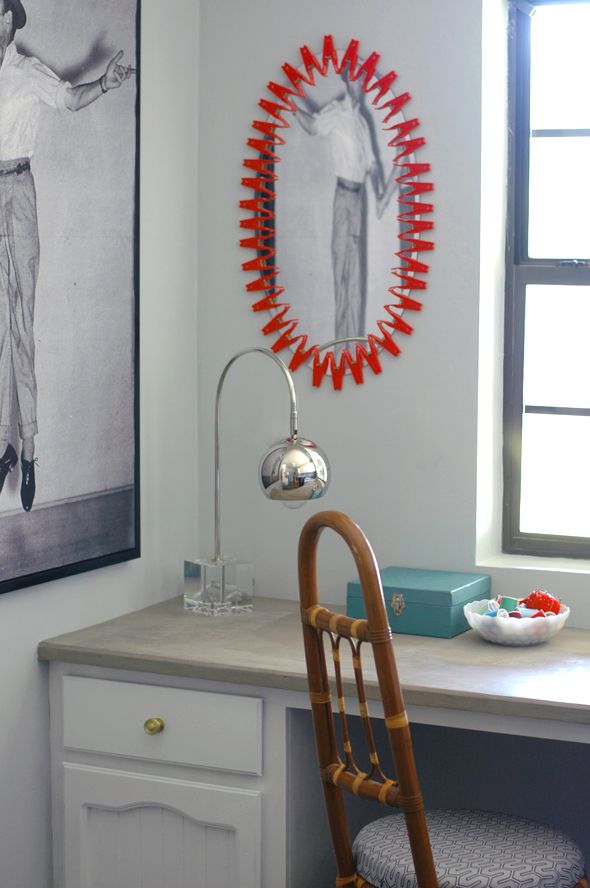
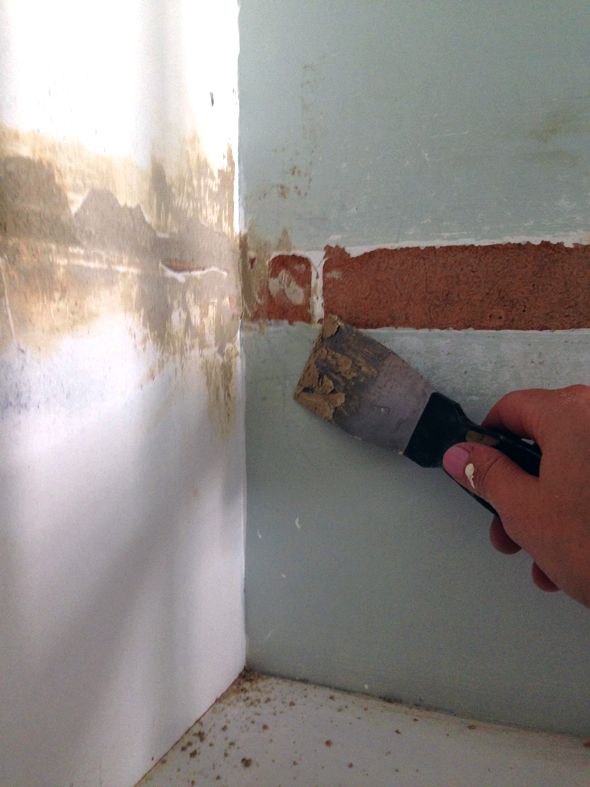
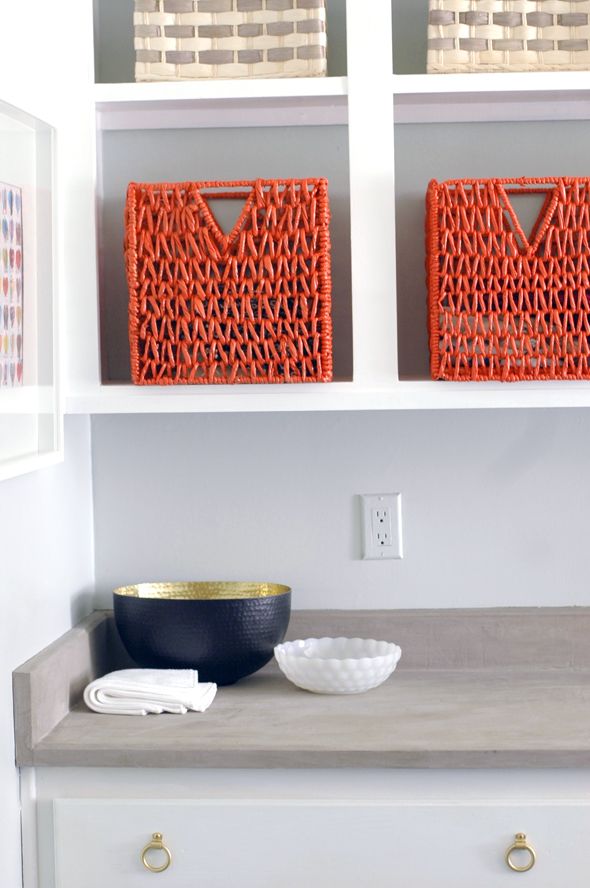
I think my favorite project in the room has to be the new countertops though. We used a concrete product called Ardex Feather Finish to resurface the old laminate. I'm excited to share the tutorial!
The concrete made the room feel instantly more modern.
Feel free to check out all my tips here and to ask questions in the comments section, but I'll be posting some of the tutorials from this room soon. I wish I could have put more details here, but this post is already monster-sized. :) And now for the exciting part:
Maytag, Tide and The Home Depot are giving away a new washer/dryer set like the set I have below (which I am honestly LOVING, by the way), including a full year's supply of Tide's HE laundry detergent. They are also giving away a $5,000 Mastercard gift card for your laundry room redo, which I will help the winner design (and then feature the plan here on LGN)!
To enter, visit the contest site here. Ten additional winners will receive a year's supply of Tide HE detergent, so chances of winning something are looking good! :)
This post was brought to you by The Home Depot, Tide HE and Maytag. Thank you for supporting LGN sponsors!