Here are the details...
But first I wanted to clarify a couple of things. A few people have mentioned in the comments sections that they wonder who I'm talking about when I say "we" a lot in my posts. I'm mostly talking about Michael, who pitches in with projects a lot after work and on weekends, and my sister, Ali, who has been a great help whenever I've needed a second pair of hands. I don't have any employees right now and there's no team of little elves over here working behind the scenes that I'm not crediting. I'm being genuine when I say that the projects I'm sharing are doable, often easy and even fun to try. So sorry about any confusion there! I work alone a lot, but when I do get a helper it feels disingenuous to say look at what I did, but I get that that's confusing, so I'll do a better job of saying who did what in the future.
Also, my friend Christina introduced me to Jason Millar, who I've mentioned here before. (He's all booked up now, so if I haven't gotten back to you with contact info it's because he's asked me to hold off for a bit :). Jason is a handyman who we have paid hourly to come in now and again and help us on the tricky stuff. This has worked out so, so well. I know nothing about electrical work. I am (well, was) terrified of cutting into a wall. I wouldn't have known how or where to start with laying the floors. In general, Jason comes in, lends us his expertise and occasionally some of his specialized equipment and gets us started on projects and then usually he leaves and we do most of the labor ourselves to save money. This is why things are seemingly slow-going on the reno part of the house. But we're saving money by doing it this way and learning a ton along the way. Like, at this point I've laid the floors for three of the bedrooms and it is so different than I thought it would be. Harder in some ways and easier in others. Prepping for the wood was a pretty epic experience in and of itself.
Most of the houses in Arizona don't have basements and are built on concrete slabs - which you can't nail wood planks into. There are a couple of options if you're in this boat.
1) The first option for us was to use glue-down grade flooring. There are a couple of solid wood lines that are suitable for glueing down, and most laminates and engineered woods can be glued down. We thought a lot about going with a nice engineered option - the kind that is 3/4" thick with solid wood on most of the thick top layer. These can be refinished about as many times as solid wood. The difference is the wood is birch-backed and a little more stable and less sensitive to moisture and weather changes. It's more expensive than solid wood though.
The flooring expert I talked to thought it would be tricky for me to install the floors by myself using the glue-down method - especially if I wanted to use completely solid wood (which will have some irregular planks and some curving to some pieces just due to the nature of wood) and not engineered wood (which is going to be pretty consistent and straight). It's hard/impossible to manipulate slightly bowed wood planks using the glue down method. Plus it's expensive glue at around $250-$350 per bucket. We would have needed more than 10 buckets.
2) The second option was to use a new sticker-like adhesive underlayment called Elastilon right on top of the concrete. It's a moisture barrier as well, which is really nice. I got a little nervous about installation of the solid wood with this stuff for the same reasons as the glue. It was pricey stuff, and it seemed like it would be tricky to get the hard wood installed right and tight without any nails. I was especially worried about the chevron pattern I want to do in the library. (P.S. John and Sherry over at Young House Love used Elastilon to install their hardwood floors and it looks like they had a pretty easy time of it.)
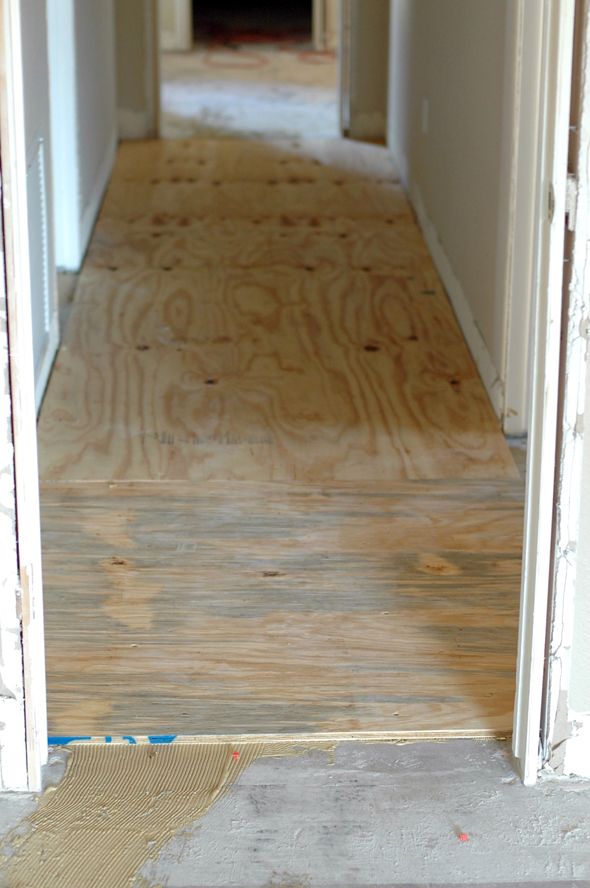
3) The last option is to glue and nail down 5/8" plywood on all the concrete and then install the hardwood planks with a nail gun. We ended up going with this method because it was slightly more cost effective on the front end, and hugely cost effective on the actual floor installment because we could nail the planks down ourselves. Jason was very helpful with the demo process and he also really took charge in installing the plywood subfloors, which were a bit of a nightmare.

You trowel on glue (which is rated to be a moisture barrier, as well, though is much less expensive than the other glue I just mentioned - about $75 a bucket and we needed about six or seven) and then you lay down the plywood sheet and use a gun-like ramset to shoot nails into the concrete using the force of .22 caliber bullets. It was nuts and seriously hard work. This was a good project to get pro help on.

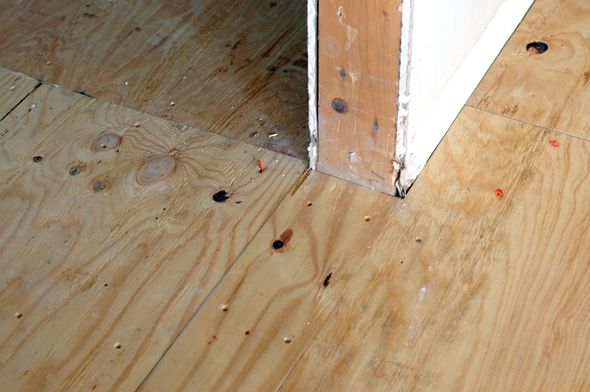
In the girls' rooms and the landing upstairs we were able to reuse the plywood floors already on the floor. The plywood is old, but level and in good enough shape. I had read online that it is imperative for plywood subfloor to be perfectly smooth and as free of old nails and staples as possible. I cannot even begin to describe what a pain it was to pull out all the staples from the old laminate. Hours and hours of hard, intense labor, bending over and kneeling down and pulling at those staples like mad. It was not fun and not easy because the staples are so long. Jason later told me it's not really that big of a deal and we could have just bent the staples over and hammered the them flat, but you know, whatever. I like to do things the hard way. (*hits head repeatedly on pile of wood boxes*)
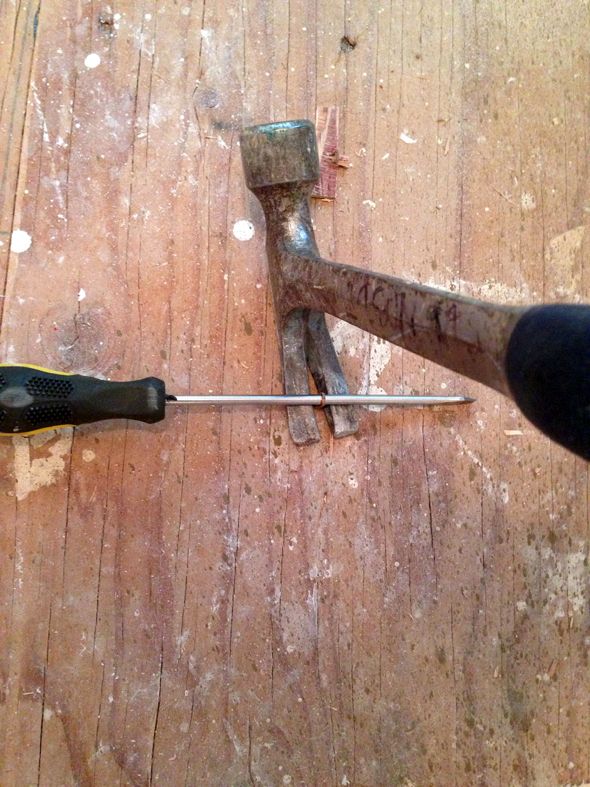
If you also like to do things the hard way, we found the easiest method to be to tap a long screwdriver into the staple,

And then use the hammer to pull the staple out by prying the screwdriver up. All the staples will be installed at an angle, all the same direction and if you pull them out in the same direction it makes the process a little easier and rips up your plywood less.
Then we swept and vacuumed and it was time to start the floors, which I'll detail out for you in a separate post.
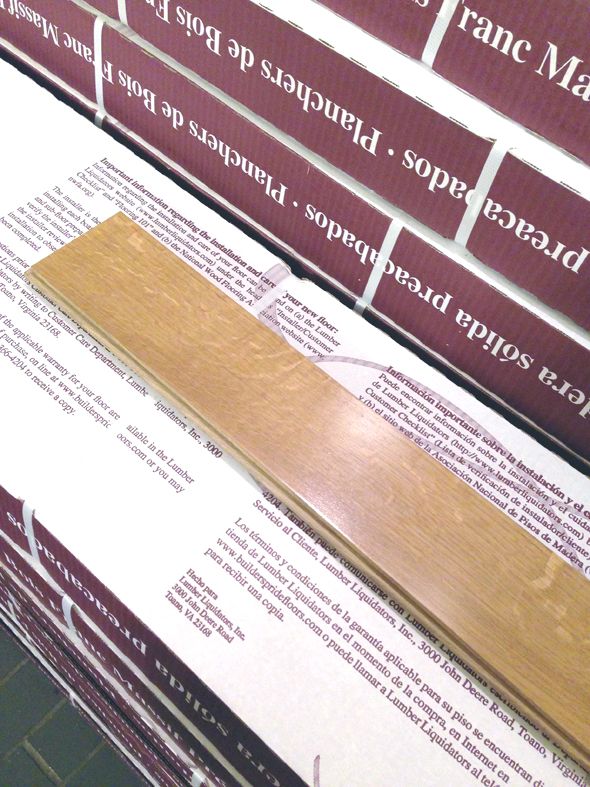
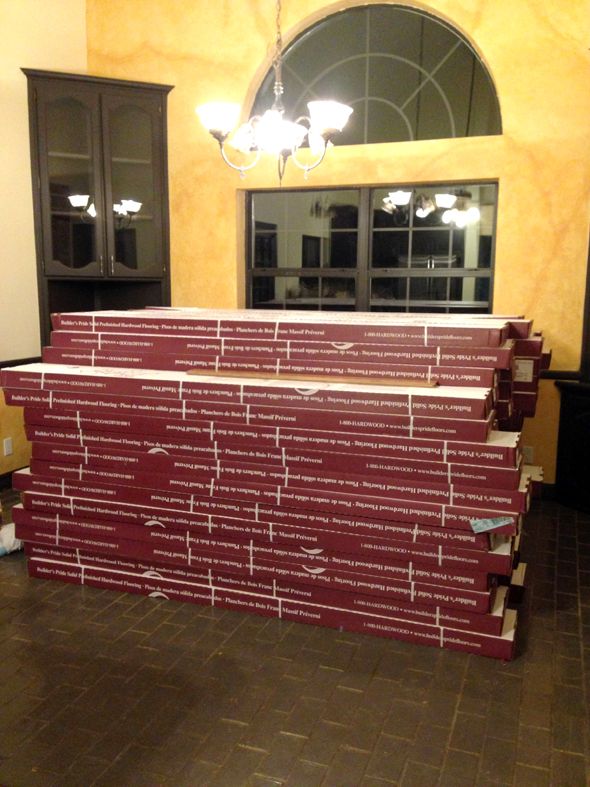
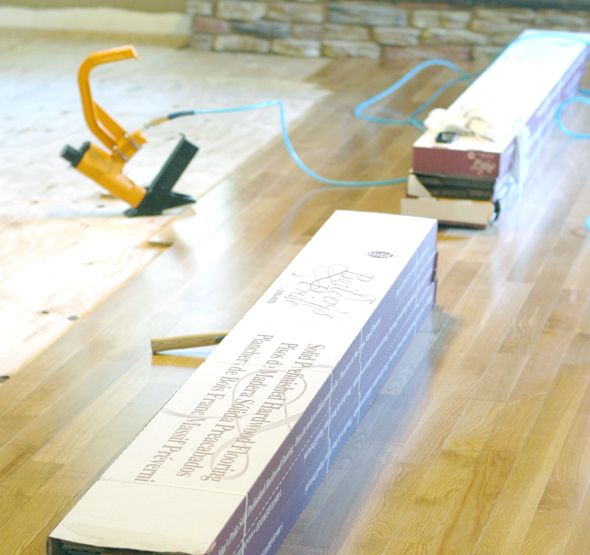
I know a lot of you were on the fence about me taking out the hand-scraped engineered wood and the ceramic tile. I was on the fence too - it was a tough choice that I considered very seriously. And even though we've saved a lot of money by buying the wood prefinished from Lumber Liquidators and installing it ourselves, it still was expensive to buy all this wood, plywood, glue and nails.
You'll probably remember that when I decided to pull out the old floors, I was shooting for the stars and wanted a very specific Parisian apartment look to the wood. Classic and traditional looking, but a little more on the worn in side and warm-looking. I had put aside a lot of our savings to try and do this, but when I got the quote of nearly $40,000 for the wood and installation and finishing on site (not including the demo), I just had to let go of the idea. We hit more roadblocks right and left and ultimately I decided to just go with the prefinished white oak solid wood and take the time to install it myself.
This way I'm still getting a little bit of the look I was hoping for with the finished-on-site wood and have the option to sand and refinish the floors several times down the road, if we want to.
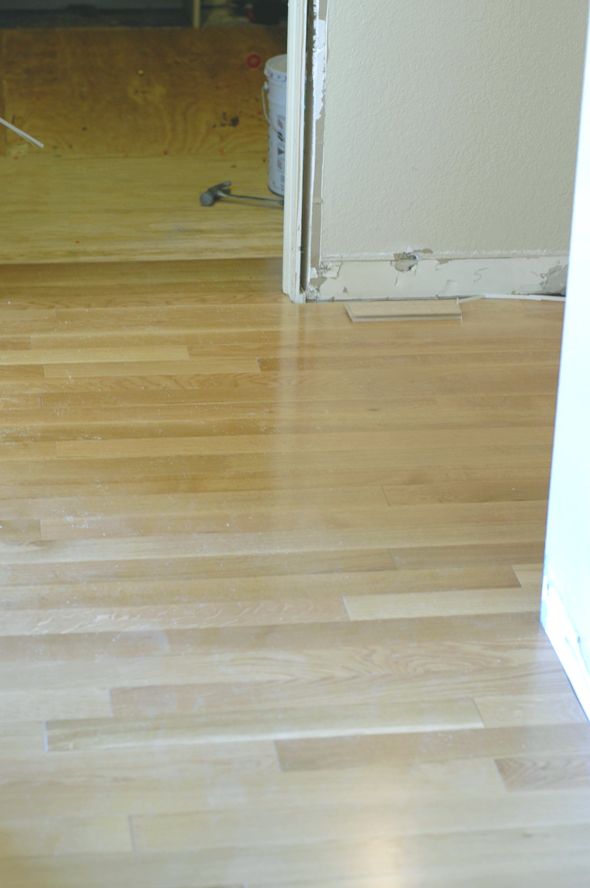
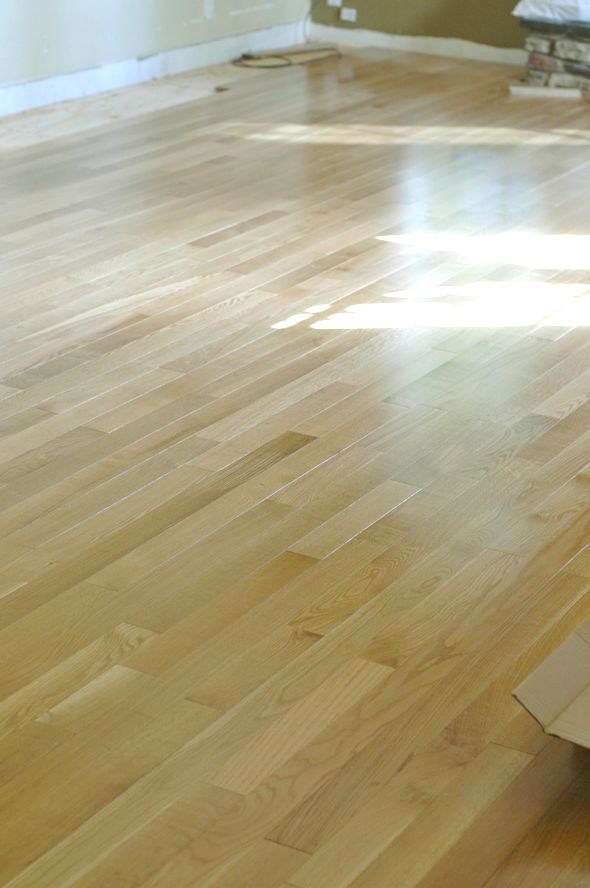
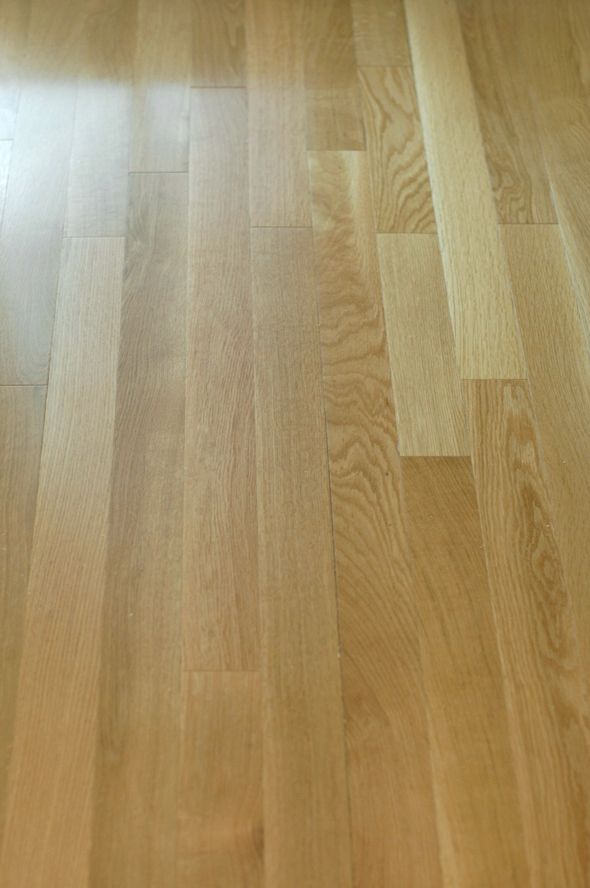
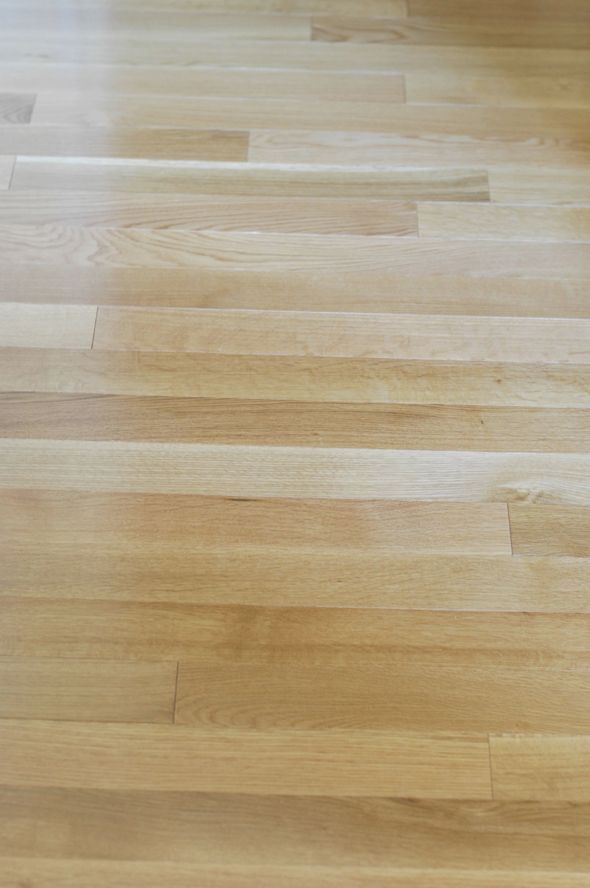
So far, I'm liking the floors like a 7.5 or an 8 out of 10. The good news is I really like the 3.25" plank width. I think it will be perfect for the chevron pattern we're starting on in the library next week. I'm okay with the stain/wood color (though there are occasional pieces that are more pink than I'd like to have, but you know, that happens with oak). Minus two or three points for the finish though - it's a little too perfect and satin-y. This is what I was worried about with the prefinished route, but I know it'll look great when we get furniture and rugs in here to break up the sea of smooth wood. We're trying to leave just a hair of a gap in some planks just to avoid that tight butcher block look that I want to avoid. And happily there's none of that hollow sound when we walk and I attribute that 100% to Jason's handy work with the subfloors. Dude knows what he is doing.
I'm being nit-picky about the finish though - I really like this wood and I still think it was a good choice to change out the old floors before we settled in to this side of the house. Once the walls are all painted and the trim is back up, I know I'll love the floors even more! I'm really glad we did it.
Back to the nail gun!