Michael had to work over Veteran's Day weekend (boo) so I decided to take the girls up to visit my parents. The weather was perfect and the sky was that perfect color of winter blue. I've always loved the desert, but I think I can appreciate its unique beauty even more after living on the east coast for a decade.
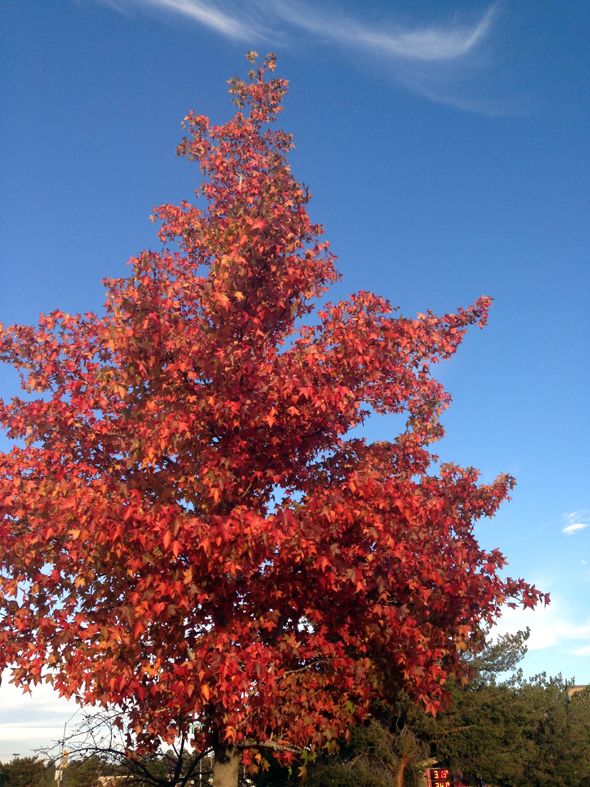
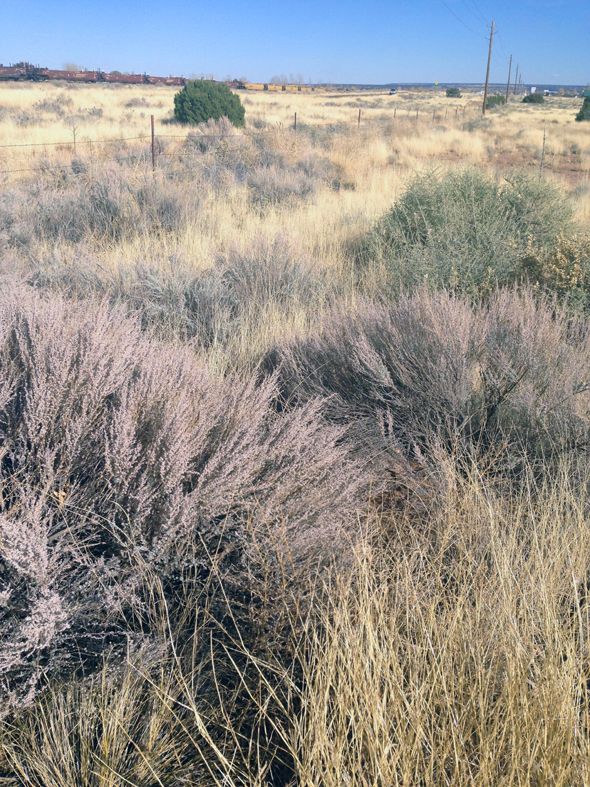
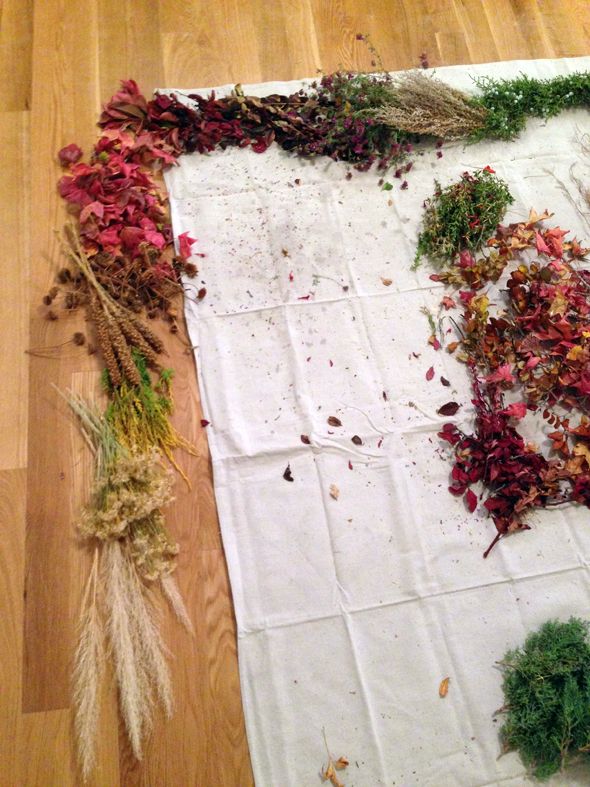
On the way back home, the girls and I decided to collect samples of some of the plants and foliage along the road back down to Phoenix. We found everything from sage to juniper (with pretty little blue berries!) to gorgeous maple leaves in every shade from red to yellow.

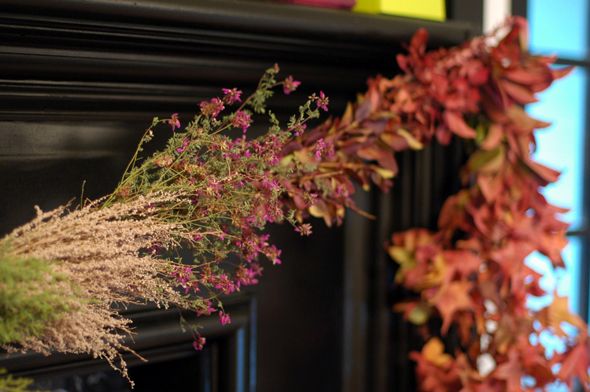
I was surprised that we were able to collect something from every color in the rainbow in less than two hours of driving. How could I resist making an ombre garland with all those pretty colors?

I've made a few wreaths with evergreen boughs before and the concept is very similar for a garland. It couldn't be simpler or much less expensive (it was actually free for me since I had the floral supplies on hand already).
To make a similar garland, you'll need a good collection of leaves and plants. Try to find plants that are either already pretty dry or that will dry out well (flowers usually do not dry that well). It can get a little messy, so try organizing everything on a canvas drop cloth to make clean up easy.

Here are a few things I used:
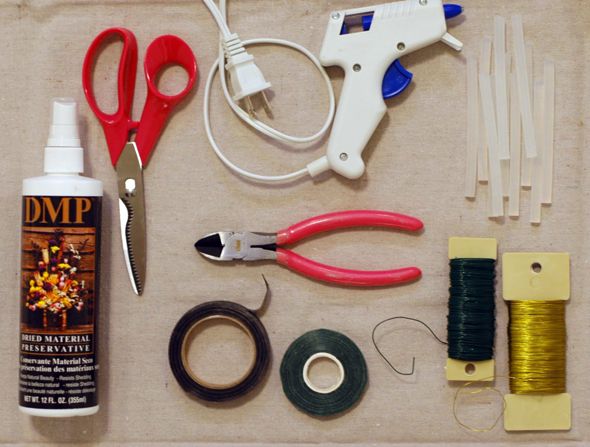
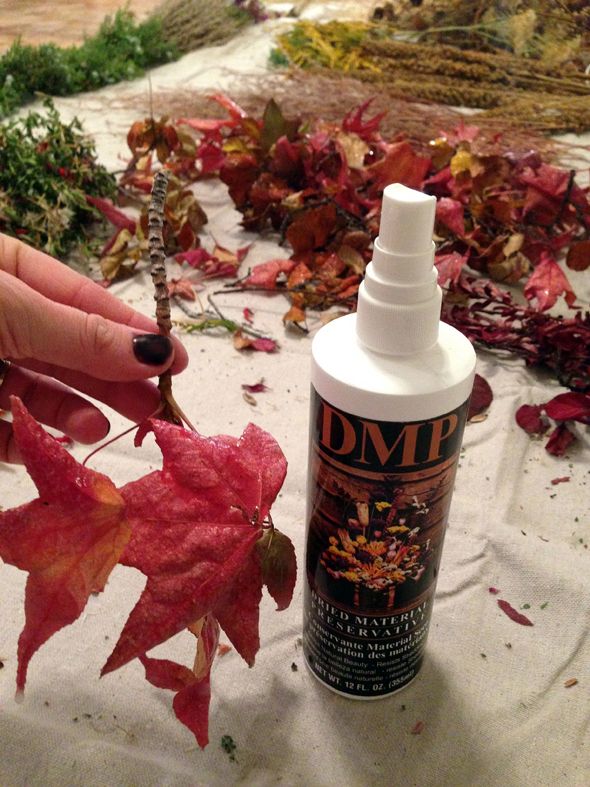
You'll for sure want two thicknesses of floral wire, wire clippers and floral shears. The Dried Material Preservative (available at craft stores) is optional, but is actually pretty helpful for keeping the brittle, dry plants more soft and pliable. And actually I've been giving my garland a light misting with this stuff every few days, just to give it a little more life.
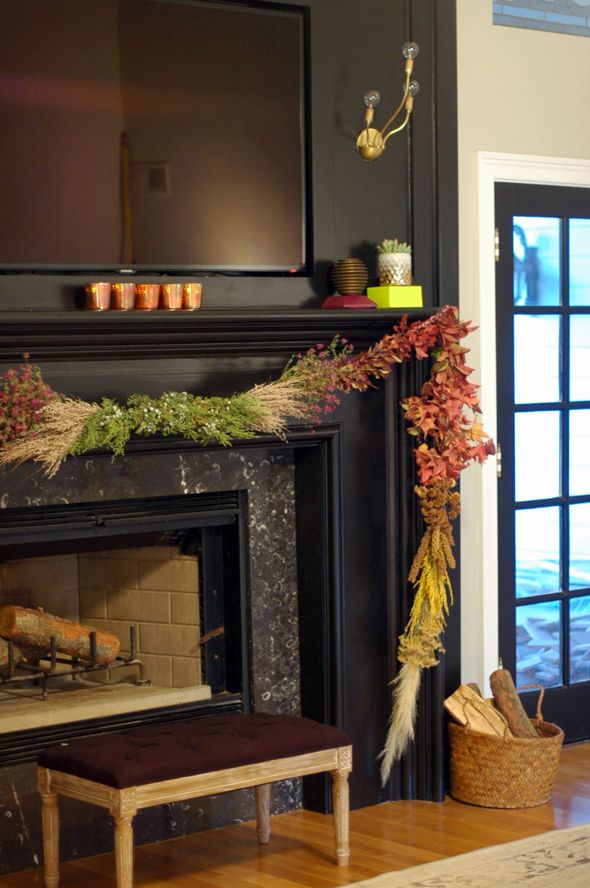
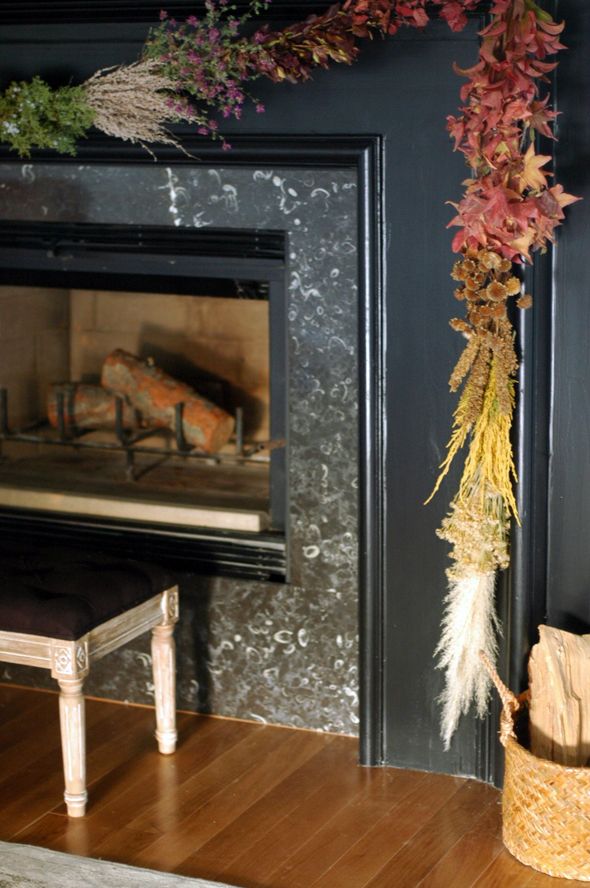
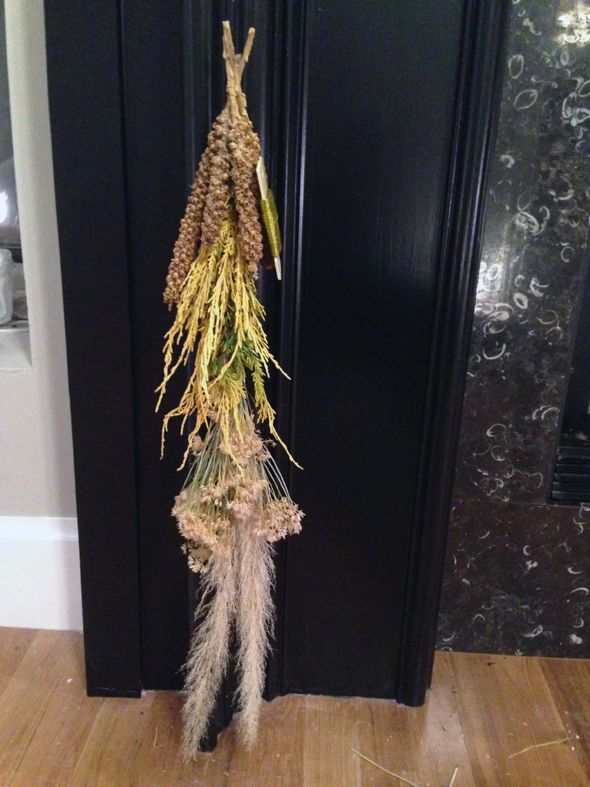
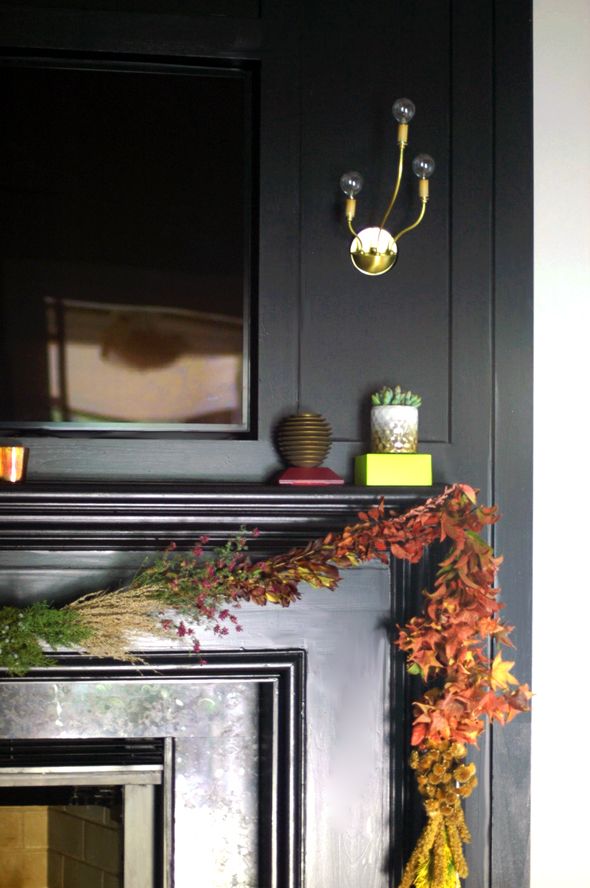
So, I would say the trickiest part here is figuring out the flow of the garland. I wanted mine to have a gradient or ombre look, so it took a little planning to get the right plants with the right color in the right area of the swag so there was a good balance to the thing. I knew I wanted the juniper berries in the middle though, and the red leaves in the corners and the white grass at the ends, so then it was just a matter of filling in the rest.
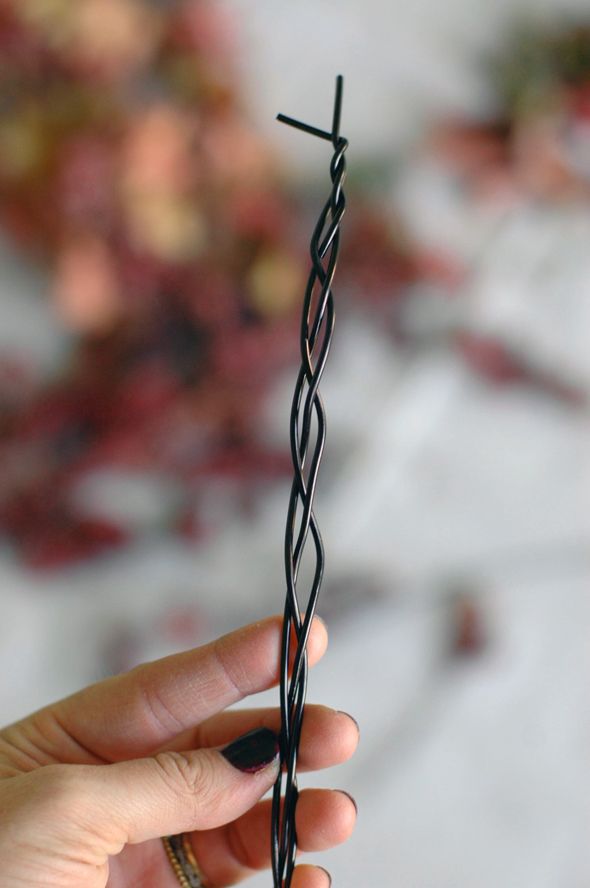
Once all your foliage is ready to go, and you have a good sense of how long your finished garland will be (mine is about 15 ft long), measure out three equal lengths of thick floral wire and then braid the wire. It doesn't have to be perfect at all - and don't stress if the wires get a little tangled. The idea is you want a thicker but still pliable surface to tie the flowers to.
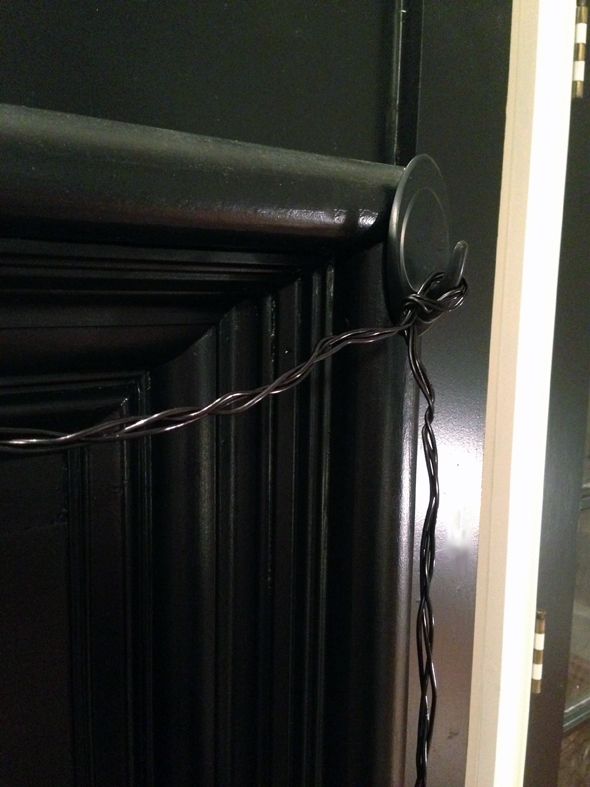
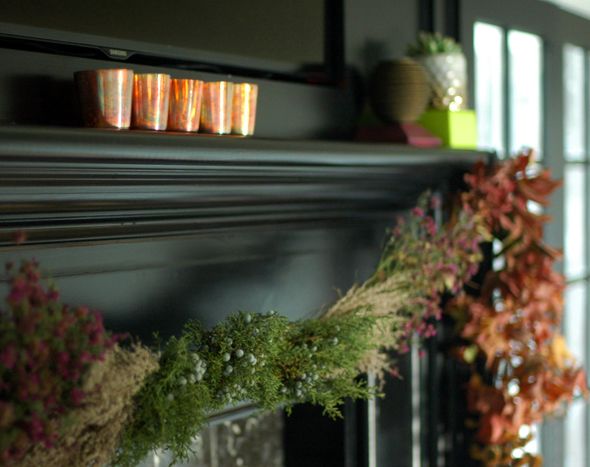
I used two of those stick-on hooks (in black, to match my fireplace) in the corners of the mantle. I looped the braided wire around the hook and sort of pinched it to help the wire stay put. If you want the finished garland to swoop down a little in the center, let the wire sag just a bit here, but not too much. The weight of the foliage will pull it down several more inches.
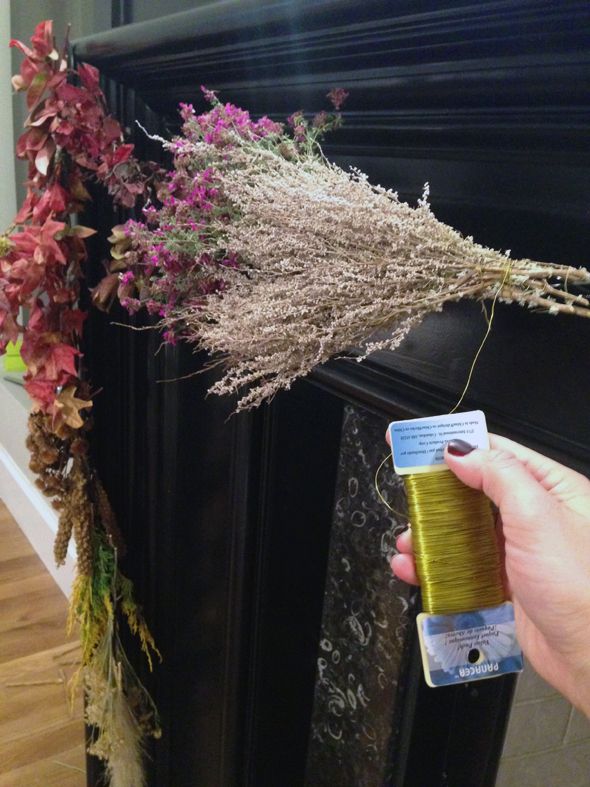
Then it's time to start layering on the foliage. The most important part is to start at the bottom and layer on top of each little bundle and work your way to the center.
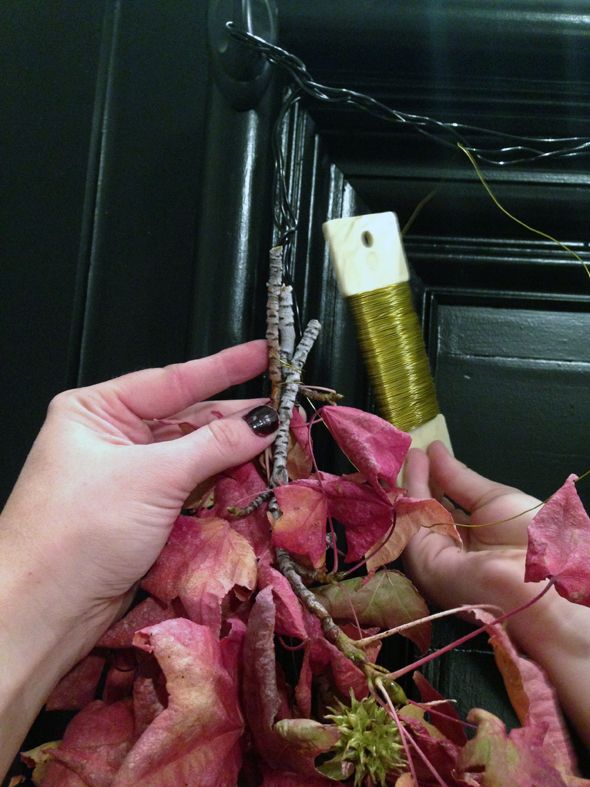
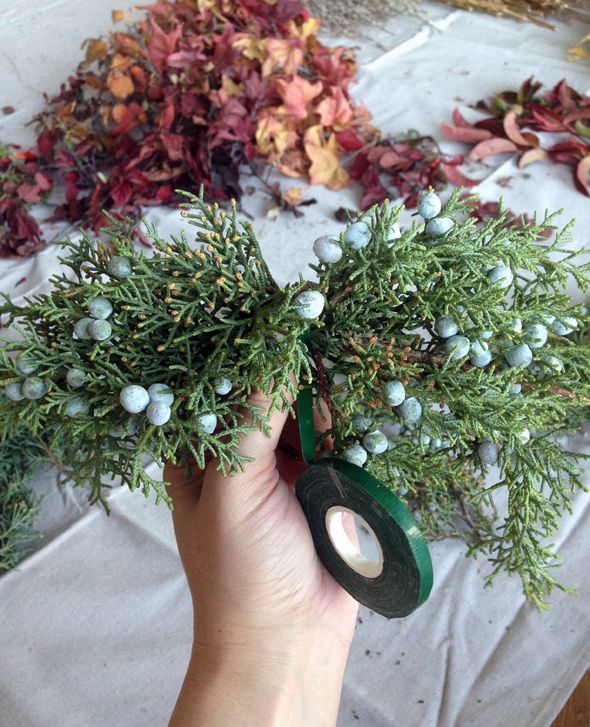
To make each bundle, you just layer the foliage in your hand in a pretty way so that there are no gaps or blunt lines. And then you hold the bundle up against the braided wire and wrap it three or four times with the smaller gauge floral wire, just around the base of the bundle, mostly. For the lighter foliage, I used gold wire and for the greenery I pulled out my dark green wire.
Once I finished layering on one half of the garland, I started at the bottom of the other side, trying to copy the layout exactly. When both halves are finished, you should be left with two mirror-image symmetrical swags. I think it would look a little funny if you don't have a center piece that is sort of bunched up and less layered looking. So I made a little end cap for the very center out of more juniper bush. I used floral tape to sort of bunch and fan out some shorter pieces, and then attached it with wire just like with the other bundles.
Also, and I didn't end up needing to do so here, but if you've lost a lot of leaves in the process, you can strategically hot glue a few leaves back on to help fill things out a bit.
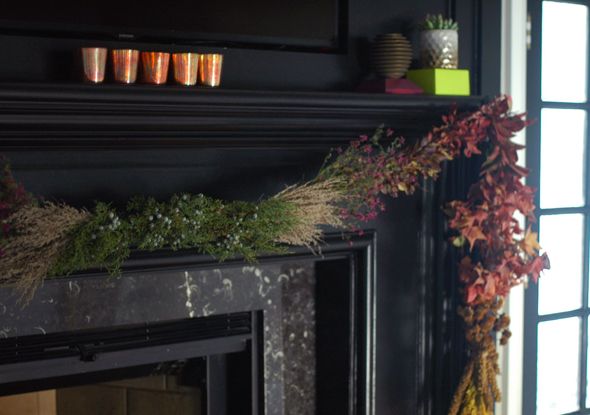
Finally, you can sort of bend and tug at the wire to get it to look right and you're done! It's easy and fun and only takes an hour or two. My garland has been up for about a week and a half and I think it'll still look great for Thanksgiving next week! The only plant that's shed at all is the soft gray sagebrush in the middle, and it's not been bad at all.
I'm already dreaming of ideas for a winter palette of all blues and greens and grays for my next garland. Maybe a double swag!