This DIY project was sponsored by Home Depot and their great campaign to be more eco-friendly.
Putting a little chair and a vanity in our bathroom has been on my to do list for a while. I love having furniture in bathrooms. If you have a big enough bathroom to pull it off, I think it looks really great and helps tone down the sterility bathrooms usually have. Plus, I don't know about you, but I'm getting too old to sit on my knees in front of the tub while my kids are taking a bath. :)
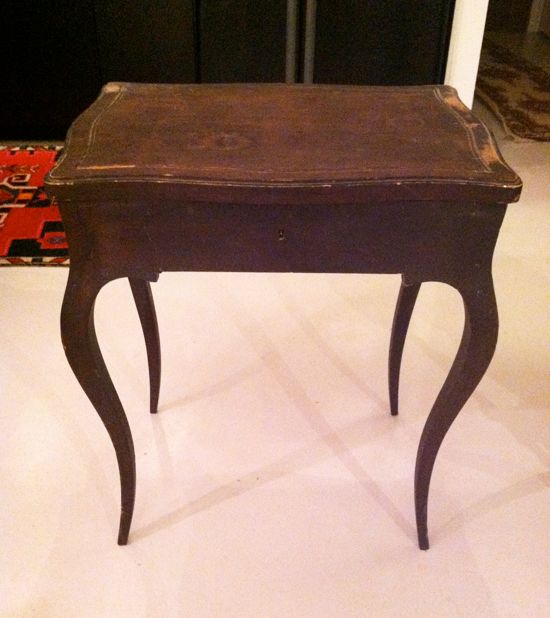
I found this little French vanity desk at Dixon's Auction in Crumpton MD. It had been passed over buy the other buyers, so I gladly snatched it up for free before the auction house workers had a chance to toss it in the dumpster with the other passed-over items.
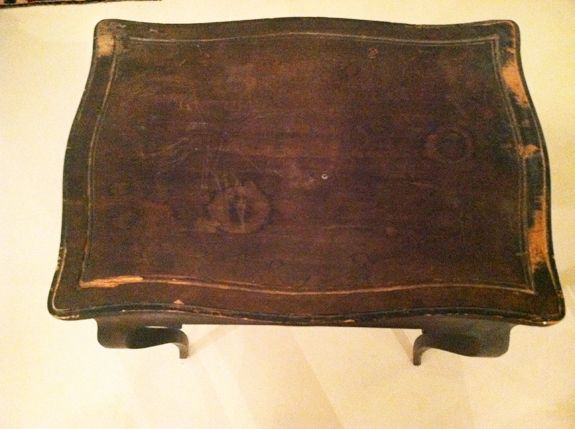
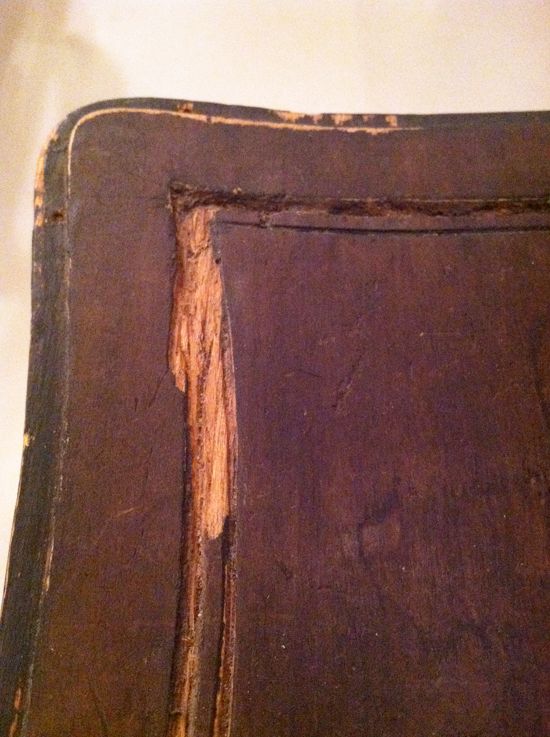
You can see why maybe no one would want it. There was a lot of surface damage to this old little piece. But I loved the shape and thought it had potential. My original plan was to sand off the old finish and stain the wood.
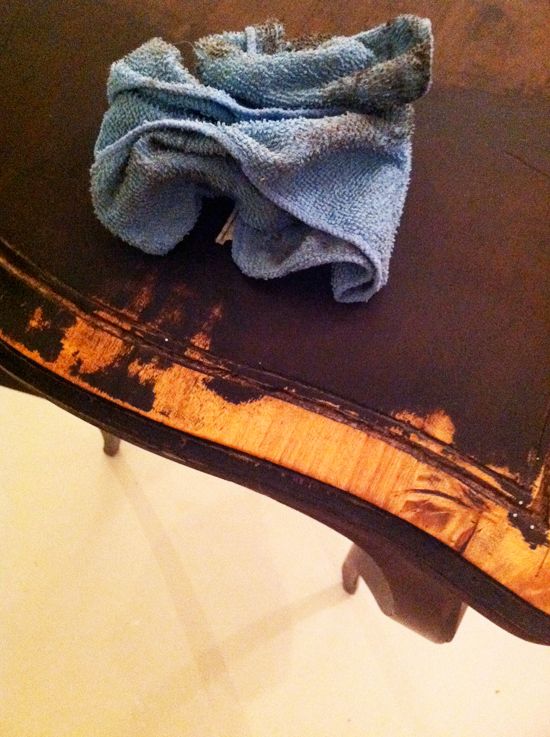
At first it looked like it was going to work, but after sanding more toward the center, the top started to look a little fishy and I bailed. I think the wood was just too old and too beat up.
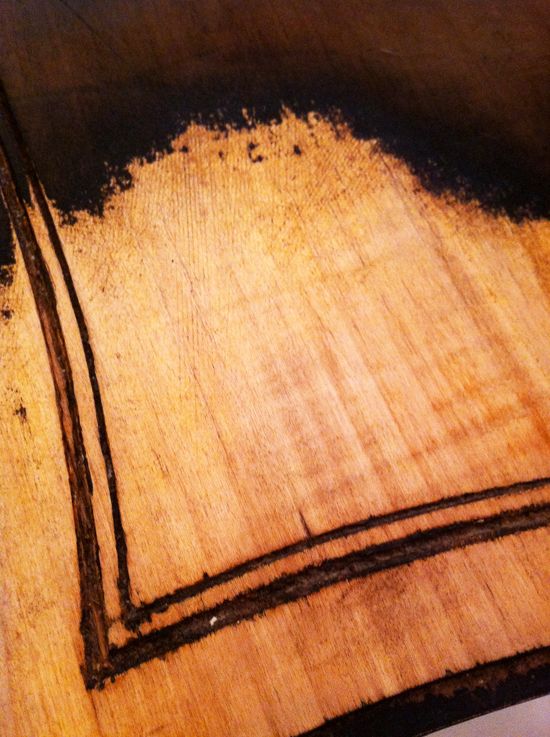
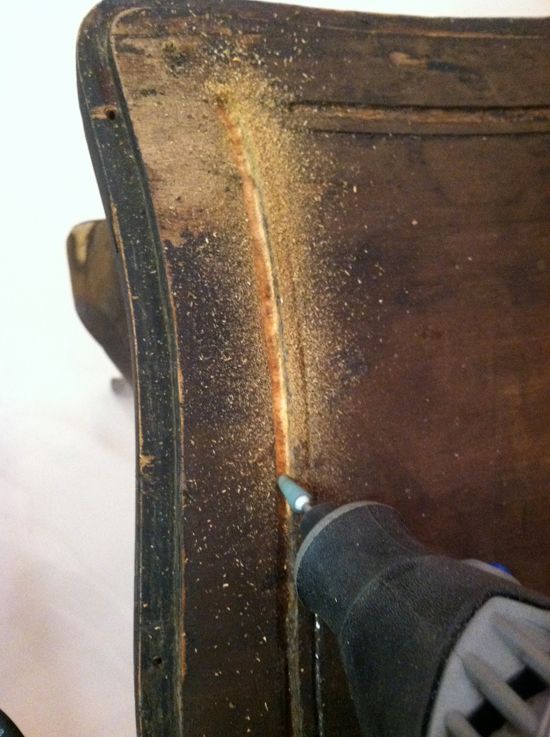
Plan B was to paint the piece. So first I used my new Dremel (which I love!) to sand out the detail work. A lot of this area had filled in over time, but it was easy to zip through with the conical bit and clean all the build up.
One section of the top detail was completely gone, so I had to rebuild it.
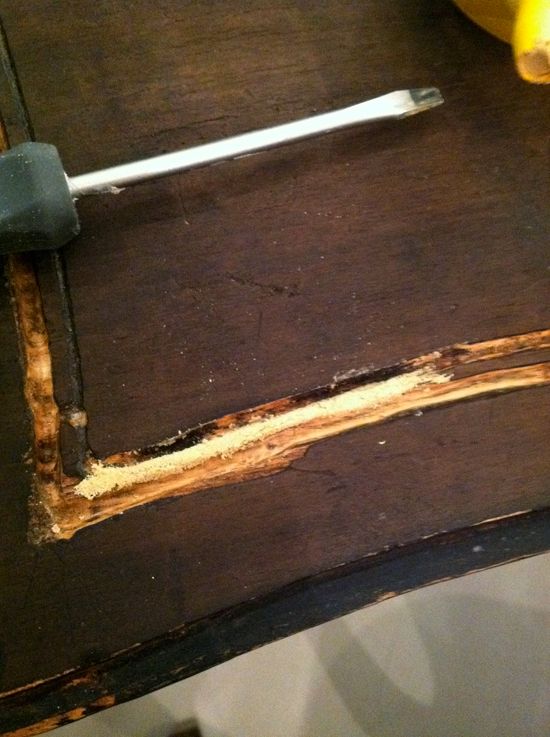
I shaped some wood filler with a flat head screw driver. It's not completely perfect, but you couldn't really tell where the repair was after everything was painted over.
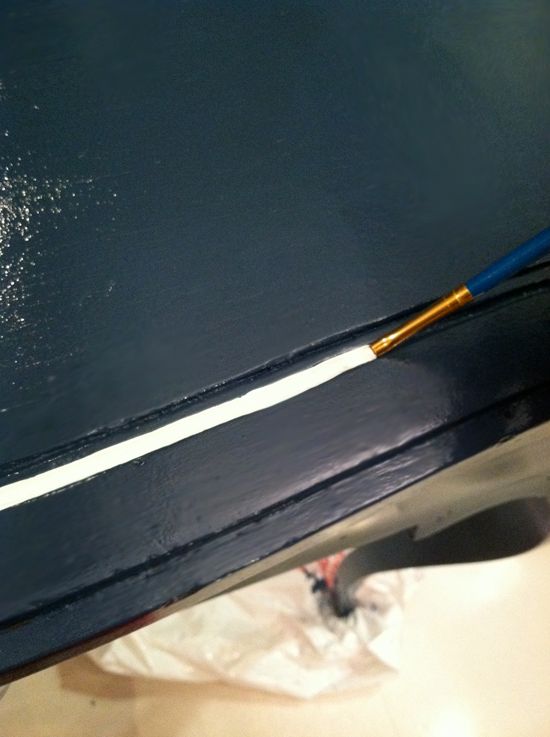
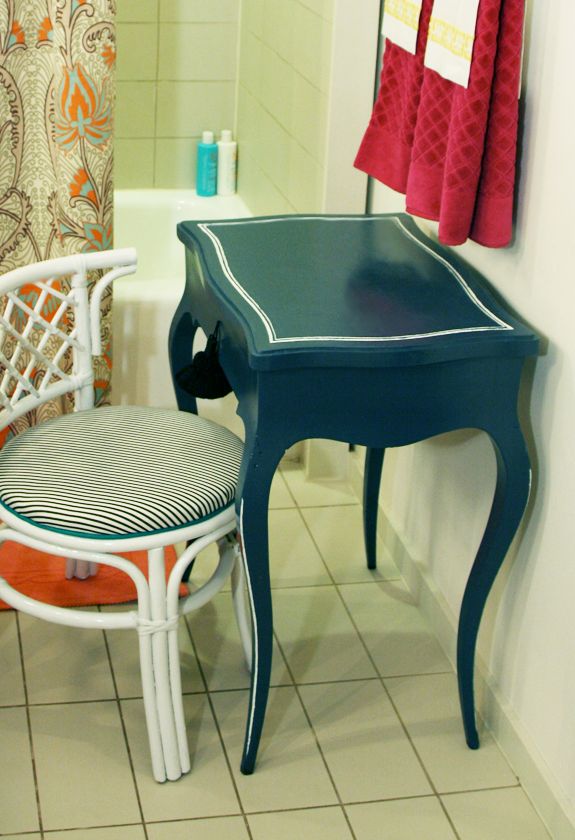
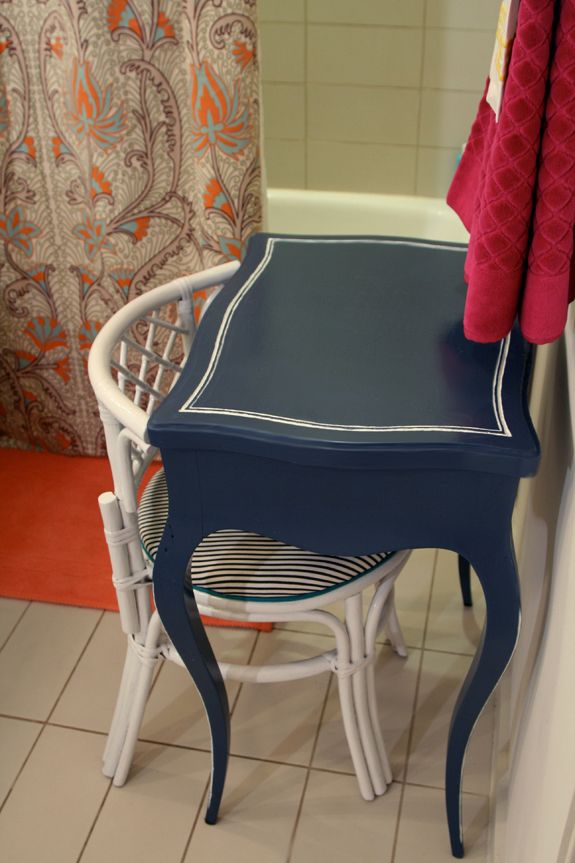
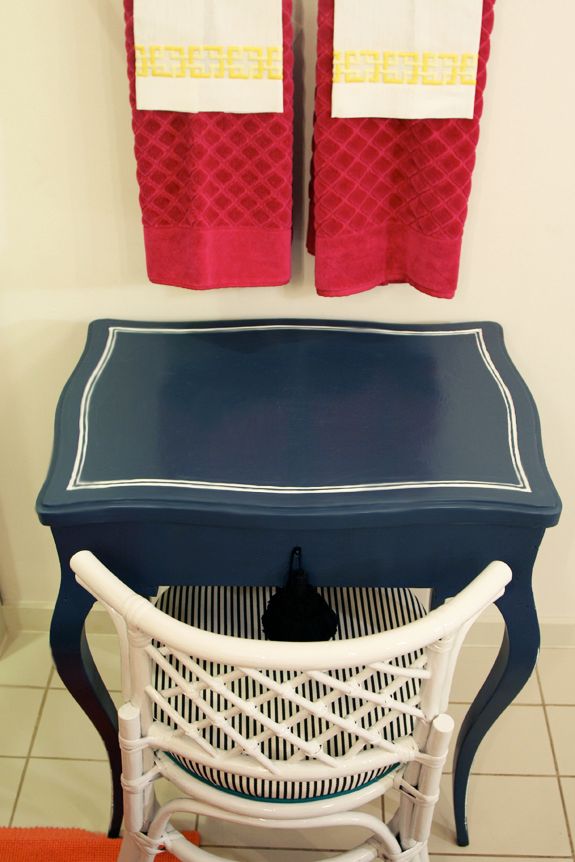
I gave the desk a coat of Zinsser primer and then 1-2 coats of BM 'Gentlemen's Gray' in the Advance paint line I'm loving so much. After the base coat was dry, I went back with a small brush to paint out the detail lines with white. There were too many curves here to make painter's tape worth the hassle, so I free-handed it. The trick to getting a smooth line easily was to first lay down the white as evenly as possibly and then to come back and cut in with the Gentlemen's Gray to touch up the white mess ups.
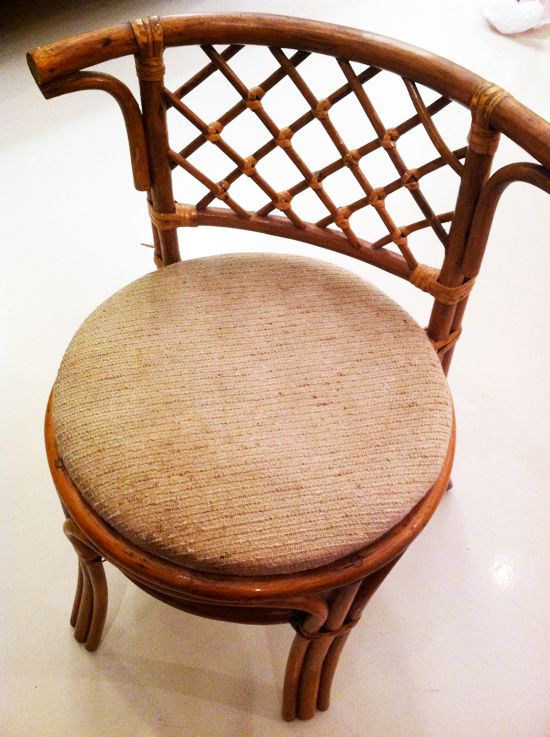
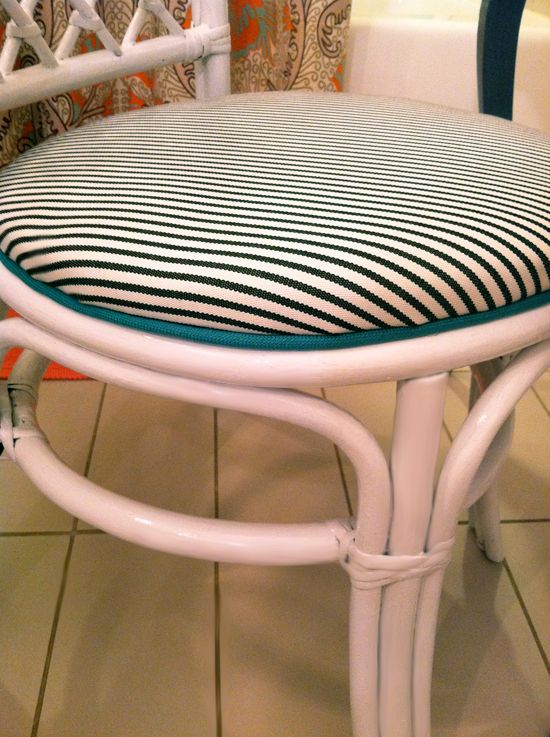
For the chair portion of the vanity set up, I found this little vintage bamboo stool at a thrift store here for $4.50. It was grimy and needed new paint and new upholstery, but I liked the shape and it fit perfectly in the little vanity.
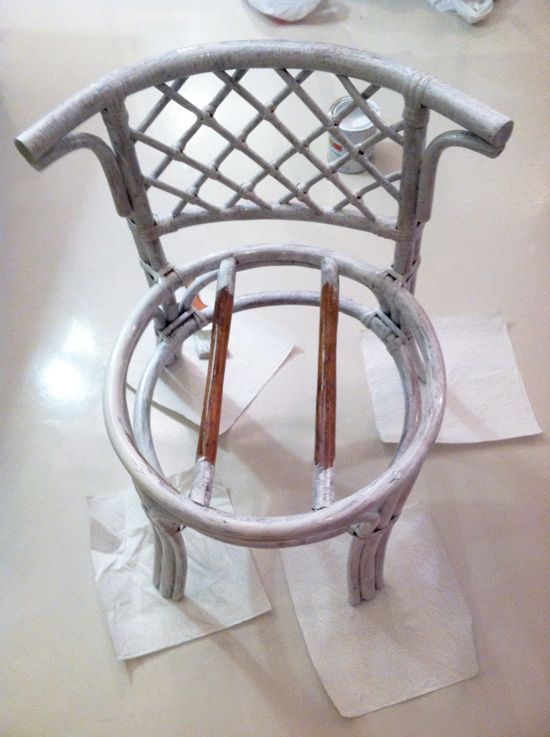
You're going to think I'm crazy, but I ended up brushing on the paint for this little chair. I really wish I could have spray painted it, but it's been cold and rainy here lately, so I was forced to brush on a coat of zinsser and 1-2 coats of BM White Dove in the Advance line. It actually didn't take as long as I worried it would. It probably took 15 or 20 minutes to do the primer, below.
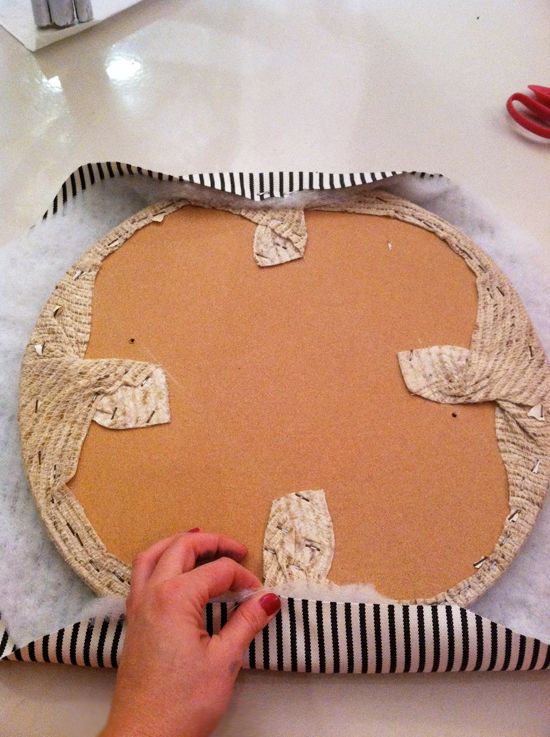
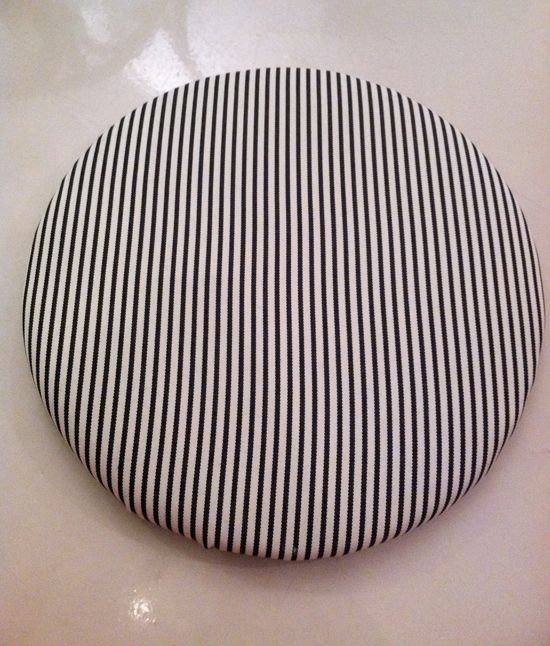
For the seat upholstery, I wanted to used some indoor/outdoor fabric since this thing will get inevitably doused during bath time. I had some woven black and white stripe from Perennials, which is a very nice all-weather line. It doesn't look or feel like outdoor fabric at all. They also make a great outdoor velvet.

Whenever I'm upholstering a drop-seat, I staple on the fabric and batting like the way my dad taught me to tighten the bolts when changing a tire - in a sort of star pattern. It makes everything pull very neatly and evenly. So I put in a couple staples on one end, pulled the fabric taut on the opposite end and put in a couple staples there, then did the same thing for the sides.
For the fabric between all the staples, you're just going to create neat little folds like these below and staple them into place as well. The goal is for the fabric at bottom of the seat to be as flat as possible. The fastest way for an upholstery job to look 'DIY' is for the edges to be bumpy. Don't give yourself away like that! :) Make those edges flat and smooth and straight by folding carefully.
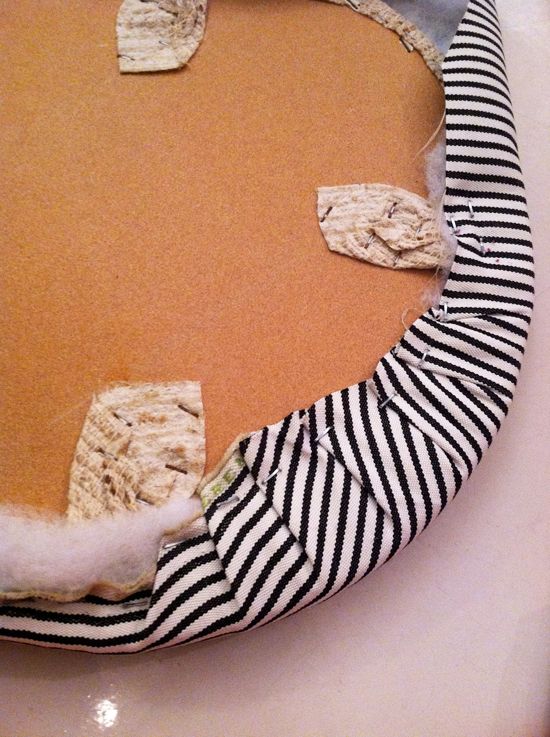
I will never tire of black and white stripes!
I decided I wanted a little shot of color, so I pulled out some cording and some teal outdoor fabric that I used in this project. I've been a piping-making fiend lately! I love the difference a contrasting welt can make. It's such an easy sewing project too, there's no reason not to make your own. Since I've been making so much of this lately I'm fast and about five minutes after deciding to add the welt, I was gluing it on to the seat.

Isn't it funny how we talk ourselves out of doing something because it feels like too much work or too much time? My new motto is 'Less thinking, more doing.' It's crazy how productive I can be when I stop fretting about how much I have to get done and just start moving. I feel like I should have turned my brain off years ago! :)
Anyway, here's the little vanity in our bathroom. I couldn't get the lighting right, so the colors are off a little. I'm so happy to have a little place to sit down in our bathroom now!
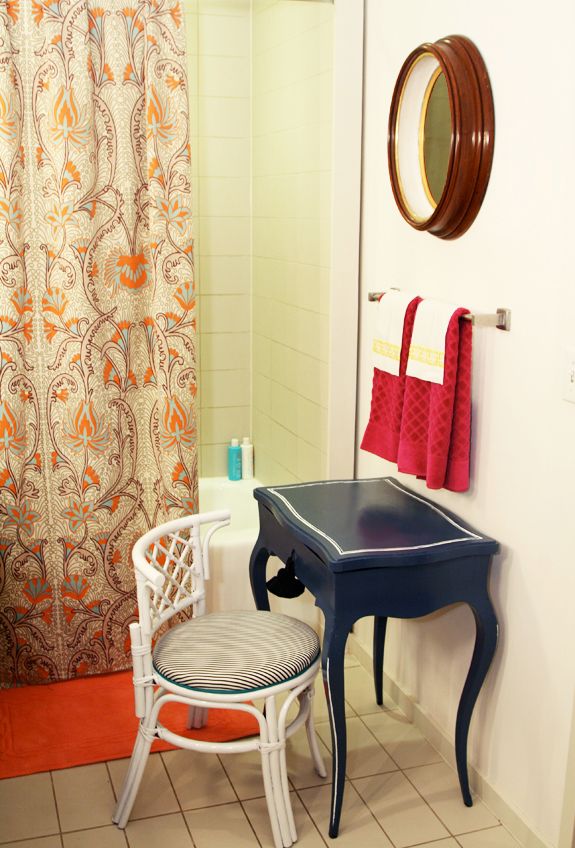
The shower curtain was made from Quadrille's Contessa (tutorial coming up!) and the hand and guest towels are from Gracious Home.
The coral bath mat is from the Williams Sonoma Home Outlet in Riverhead (I think it was less than $10! They always have the craziest sales).
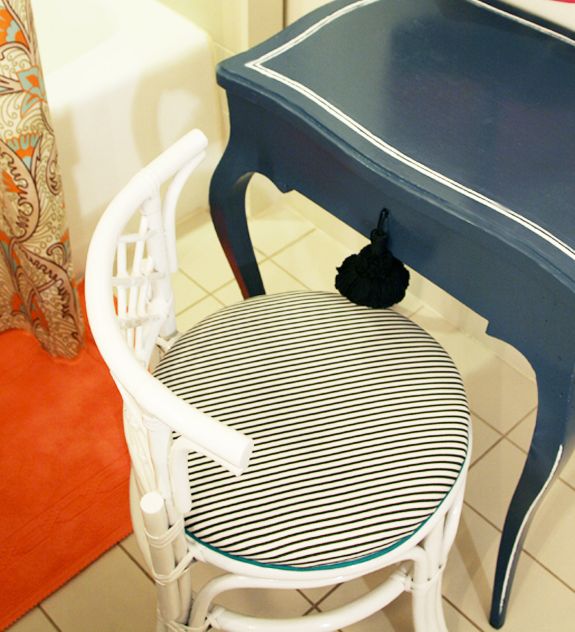
See how perfectly the little chair tucks in?
The vanity top opens up, so I'm working on fixing up the interior next. I need to get a piece of mirror cut for the inside and also find a replacement barrel shaft key for the lock.
So what do you think? Do you like have furniture in your bathroom?