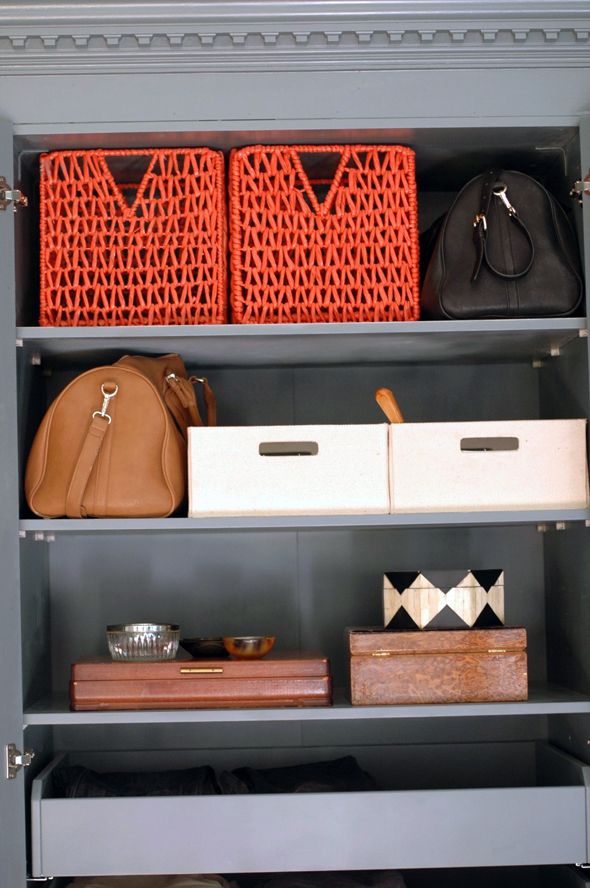
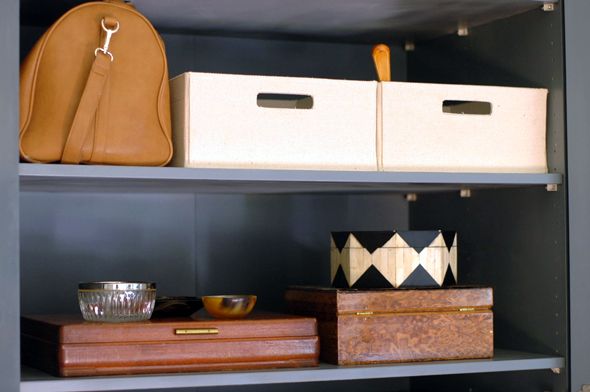
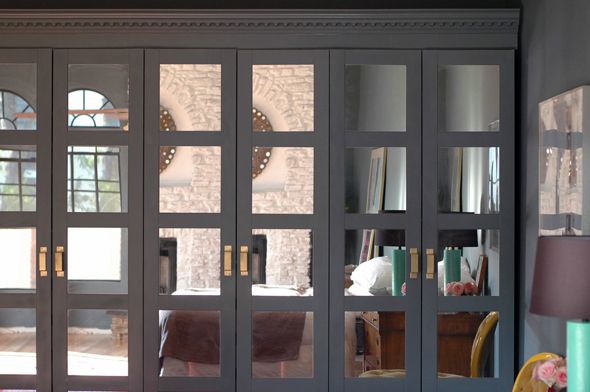
Pax wardrobes are incredibly versatile - they're really the perfect blank canvas when it comes to organizational furniture. Not only are the affordable shells are so basic and easy to customize, but then you also have all the handy shelves, drawers, baskets and other storage accessories made to fit the Pax at your finger tips.
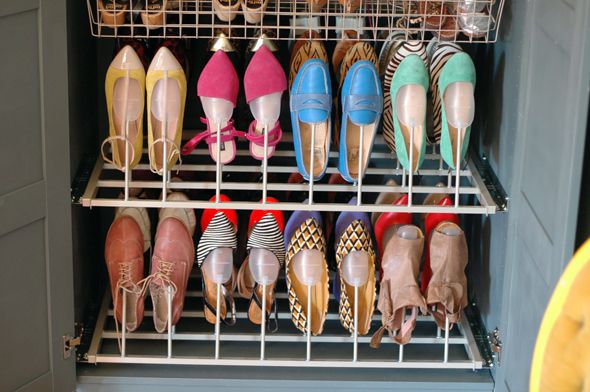
I am crazy over these shoe trees. Each pull-out shelf holds 16 pairs of shoes, which is nowhere near enough for this shoe-lover, but a couple of the shelves comes close to fitting my seasonal shoe needs! :)
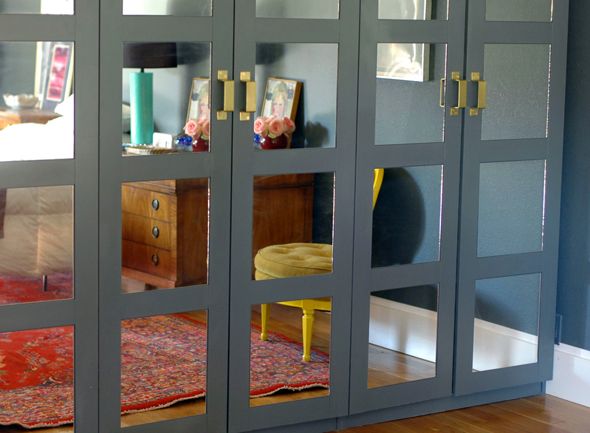
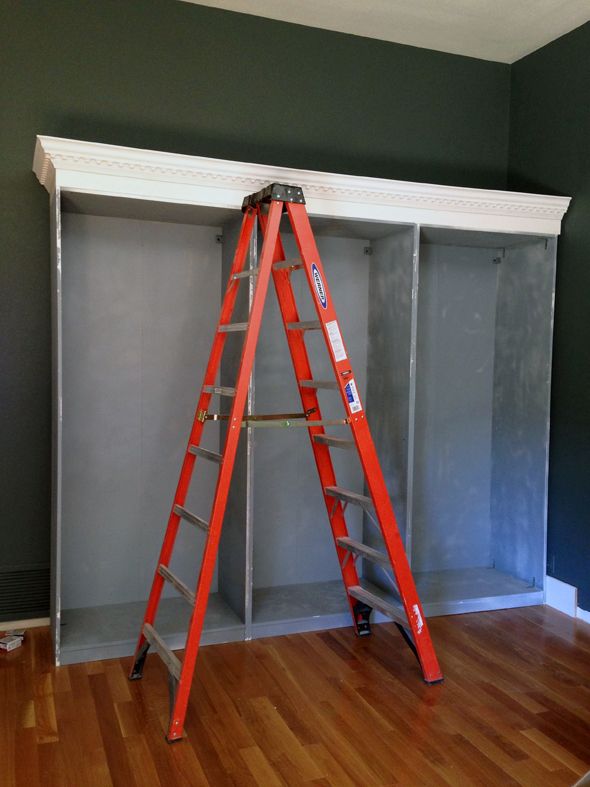
I love how much our Pax wardrobes store, and I'm thrilled that we were able to get a more custom look with just a few changes to the Pax frames. Painting probably took the most time and labor, but I think changing the color to match the walls was a key part of making these wardrobes look less IKEA and more custom.
The brand is Zinsser, but make sure you get the shellac-based version. It is formulated for use on laminate furniture, which most primers aren't.
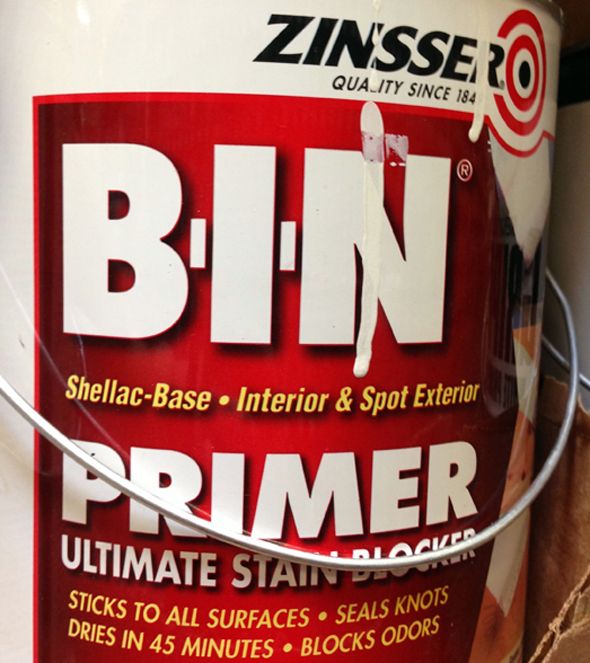
Whenever I'm priming a piece of furniture for a dark paint color, I ask the paint mixer to tint my primer. Usually it just ends up being a bluey-gray color, but it seems to help get a darker, truer color in the end when you're not having to work to cover up the white primer.

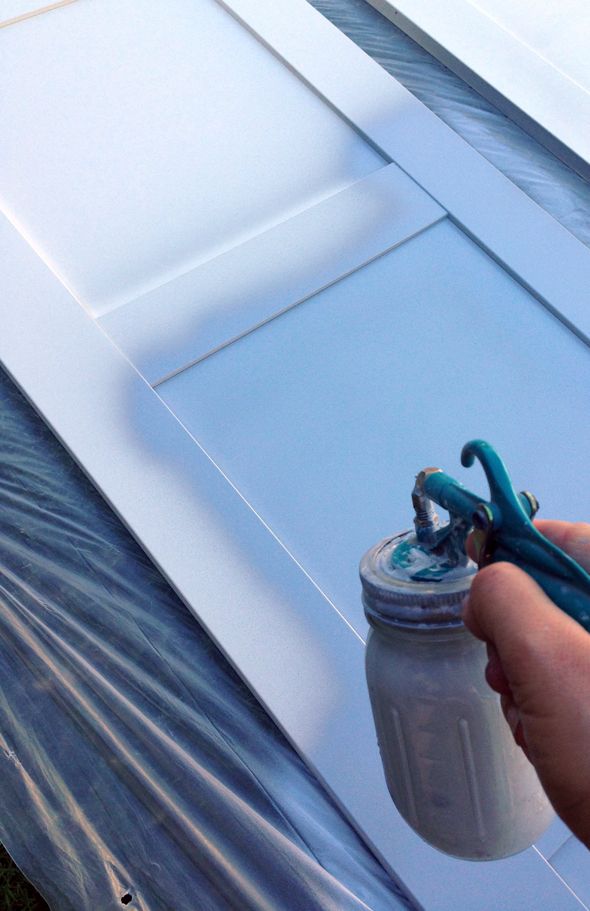
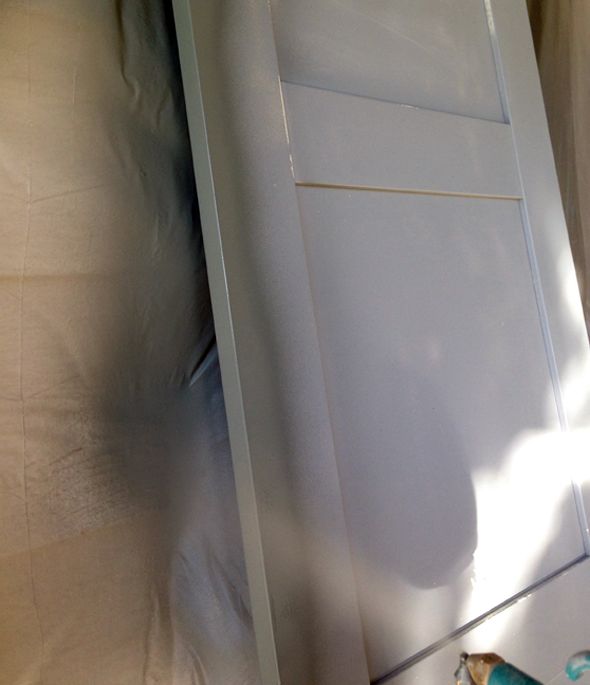
I recommend either rolling or spraying on the primer coat (to minimize brush marks and the need for heavy sanding). I still really recommend the Critter spray gun, but spraying primer with this gun doesn't work as well as spraying regular paint. The finish gets almost a little dusty. I found that if I lightly sanded after spraying the dust practically fell off and left a smooth finish. It might have been quicker to roll on the primer here though.
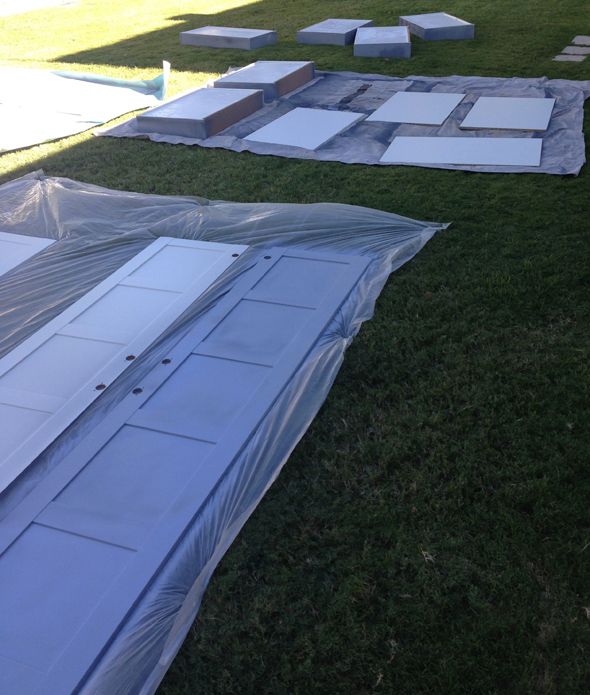
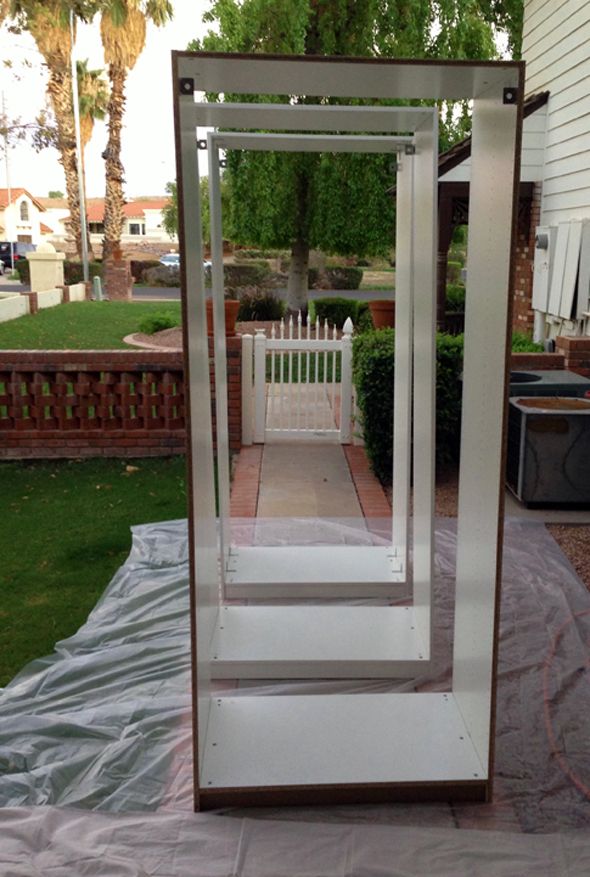
I think, whether rolling or spraying, it's easiest to paint the furniture before it is completely assembled. You can get in all the nooks and crannies and to reach all the edges better when all the pieces are separate.
Once the frame was sprayed and it had a good sanding (why it looks so patchy here below), we screwed the units together and to the walls and then built up the top with a little box frame. Then we added crown moulding to the box (similar to what we did here). This simple step added about 12" of height the to Pax frames and instantly made the separate wardrobes look a lot more like a single piece of (giant) furniture.
For the sake of time and ease, I sprayed all the doors and drawers and shelves outside with my Critter sprayer and I rolled the wardrobe frames inside. I was interesting to see if there would be any huge differences in the rolled vs the sprayed finish.
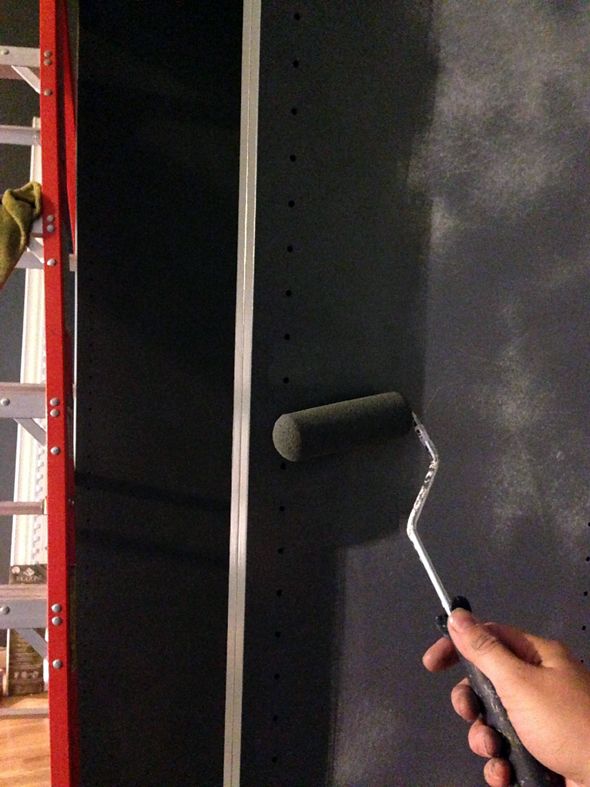
I had to go back a do a little more hand sanding on the rolled paint and the sprayed paint looked a little more original and like a factory-finish, but honestly, both looked fine. So if you don't have an air compressor and a spray gun, foam mini-rollers are a great option for you. Just make sure you do several coats to blur out any roller lines.
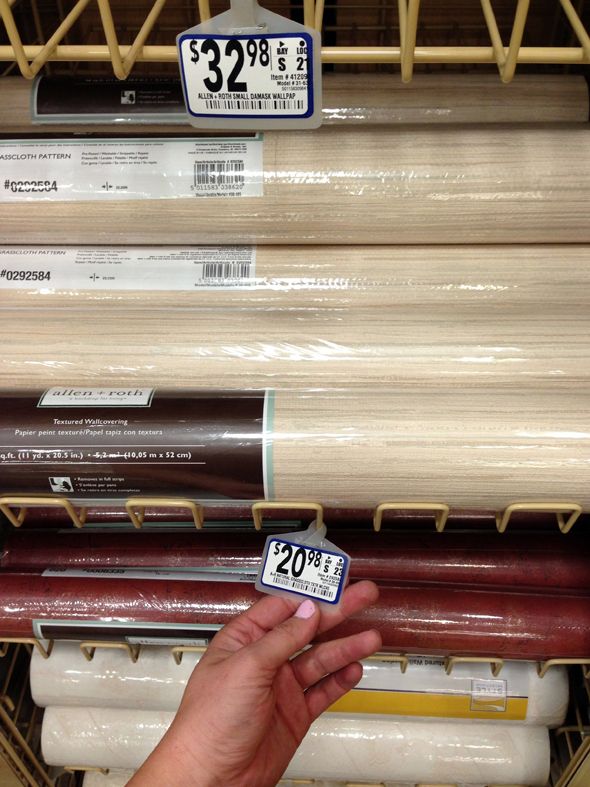
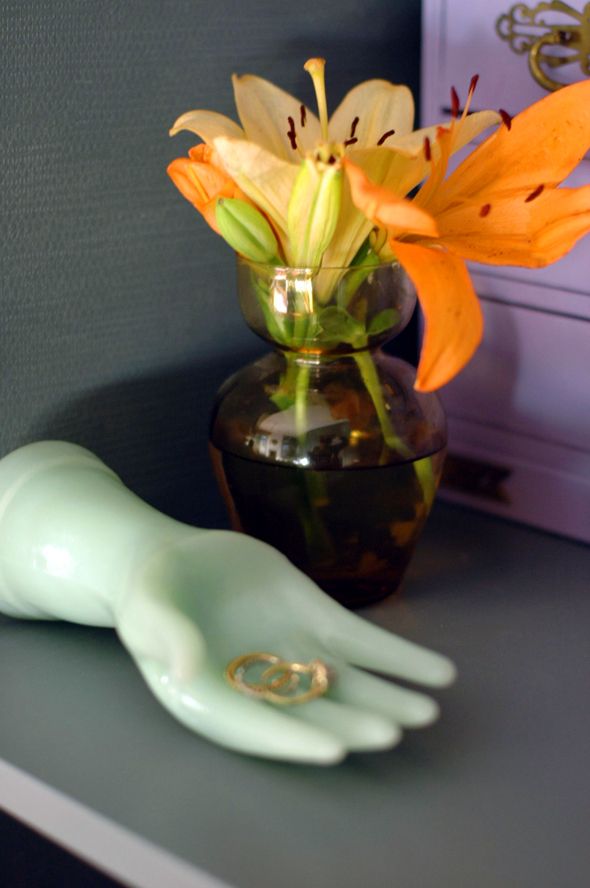
In my little vanity area in the center wardrobe, I wanted to add wallpaper to cover up the adjustable shelf holes, but I didn't want any extra pattern or color (I knew my jewelry would be color enough!). I found this little roll of pre-pasted grasscloth look-alike at Lowes for about $20 and it seemed like an easy option.
Most of the wallpapering I've done in the past has not been with pre-pasted paper. And wow, let me tell you - it is SO easy to wallpaper with this stuff. A million times easier than the paper that's unpasted. For a smaller application like this, you can just mark all your pieces and cut them to size all at once.
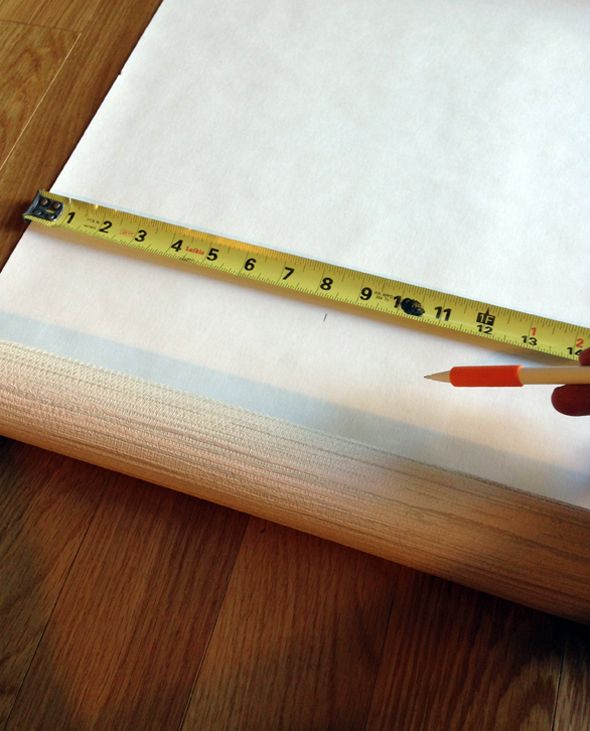
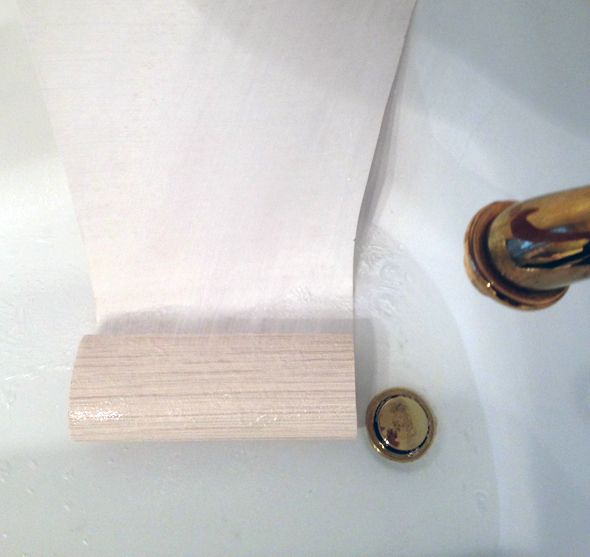
Then you get the paper wet and fold it in half for a few minutes while the paste softens. No need to get the paper too wet or you'll have a huge mess on your floors and walls.
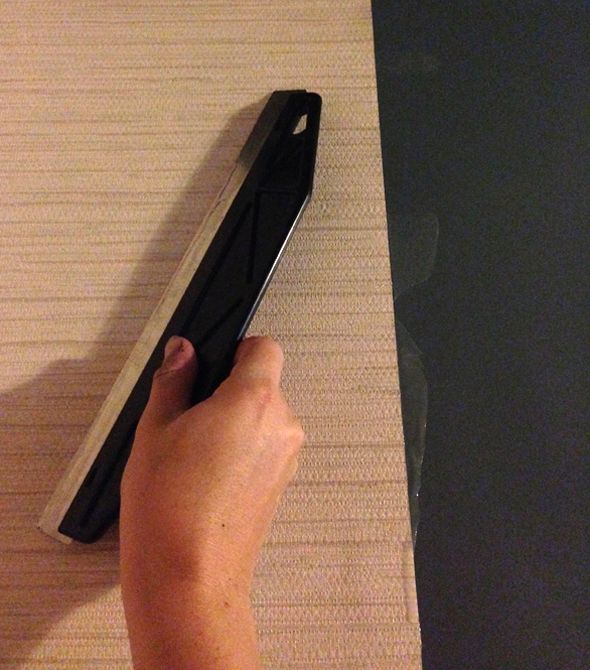
After you put the wallpaper up on the wall, use a large, flat spatula to pull out all of the air bubbles and extra paste (which you'll need to wipe off with a wet rag as you go). If the spatula is large and if you work from the same edge and pull down and out with every swipe, you'll have perfectly installed wallpaper in just a minute or two per sheet. It goes really fast with this pre-pasted stuff!
I used about half a roll for the vanity nook area and had more than enough to do the ceiling of the wardrobe too.
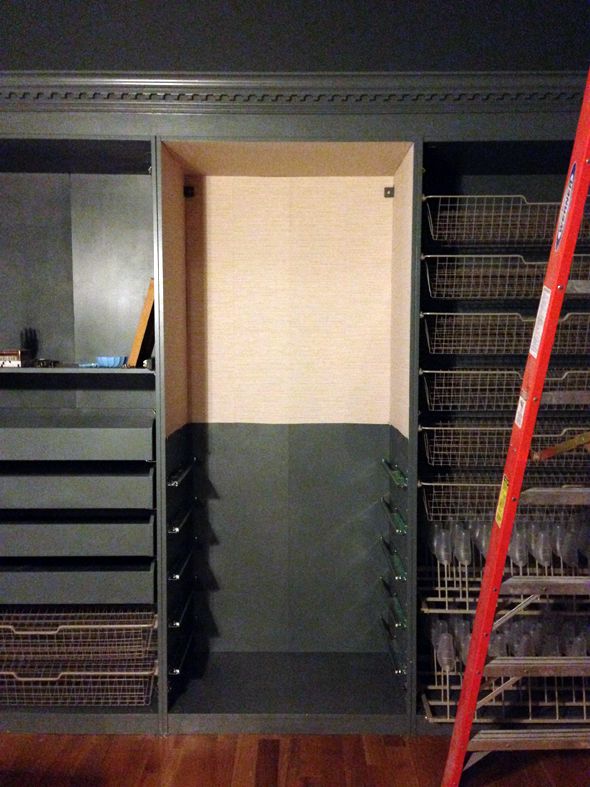
I rolled on the same paint (Benjamin Moore's Advance line, tinted to Knoxville Gray) once the paper and paste had dried. I wish the finish look more like real grasscloth, but the texture is beautiful and subtle. I think it was worth the extra few steps to make the vanity look special.

So, I'll be honest, while the steps of priming and painting all the surfaces in these three wardrobes were pretty easy on their own, it ended up being a lot of labor and it took several hours over the course of a few days to get everything covered and smooth. I love the finish and the color though, so I think it was worth it.
More behind-the-scenes projects coming up!