Here are the rest of the steps: Part 1, Part 2, Part 3, Part 4
Sewing a chair cushion is very similar to sewing a self-welt pillow with a zipper. Not hard at all.
Step 1: Using a seam ripper, carefully pull apart the original cushion. I used an extra large seam ripper which makes the process fly by.

Step 2: Use the original cushion pieces as a template to cut out pieces from the new fabric. Pay close attention to the pattern on your fabric. You want things to line up as much as possible.

Step 3: Always have your iron out and hot when you are sewing. Press everything! My mom (who is an AMAZING seamstress) always says that the key to professional looking sewing projects is in the pressing. The fabric will be much easier to sew and there will be less mistakes. Here we are pressing the back panel, where the zipper sits.


Step 4: Whip up some more piping. This photo was taken when we made the double-cord welting (instructions here), but the idea is the exact same. You'll need less width though for single cord piping.

Step 5: Sew the piping to both the top and bottom pieces of cushion. My seam allowance here was about 1/2".

A quick tip: if you cut the seam of the piping a little just around the curves, the piping will be much more flexible and it won't pull or rip from the inside.

Step 6: Sew the middle panel (which in the case of my cushion was one long strip the wrapped around three sides) to the top piece.

We had a little trouble getting the pattern to match on one cushion (below) because we were short on fabric, but this pattern has so much going on, that it doesn't bother me at all.

Step 7: Reassemble the zipper using the old cushion as your template. You can even reuse the old zipper if it sort of matches your new fabric (mine didn't).

The old cushion had a small panel that covered the beginning and end of the zipper. It's a pretty clean look, though you don't really see the back of the cushion from behind the chair.

Step 8: Once your zipper is in and the three-sided panel was all sewn in place, it was time to attach the bottom panel. Just like sewing a cushion, you turn everything inside out, with the zipper open so you can turn it back to it's right side after sewing.

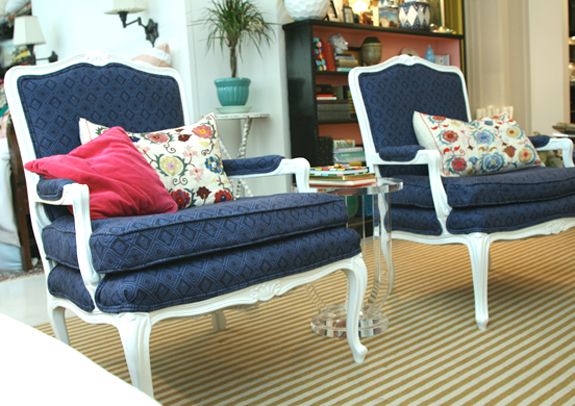
And that's it! The cushions fit just right and are easily removable for washing.

I took these photos as we were running out the door to catch our plane, so forgive the less than great styling. I definitely need some new pillows for to the chairs. I found this awesome red and green leopard print that might be *perfect*.
Off to help with more wedding stuff. I promise to post as often as possible while we're away. I have some really exciting projects to share with you that I photographed before we left. xoxo
