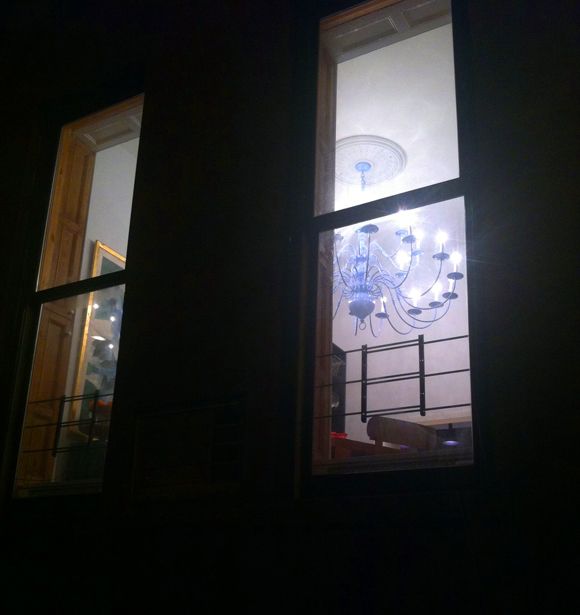
In most cities, if you walk around a residential neighborhood at night, you can sort of see into apartments. It is way too much fun to me - probably one of my favorite post-dinner date night activities. I know it sounds creepy, but it is amazing to get a glimpse inside these beautiful homes, and plus, everyone does it (city dwellers, back me up!). I tell myself it's just like looking at real estate listings. Ish?
So by the time I was feeling well enough, I hobbled down the street in search of a fabulous purple chandelier in one of our neighbors' houses. I know I gasped out loud when I finally saw it. It is the most incredible blue-purple murano glass chandelier EVER. I snapped a single sneaky photo that doesn't even begin to show the fabulous-ness of this fixture (trust), and I felt like a total creepster (though I have been known to snap sneaky photos). The whole house looks like it's amazing - the art! the paneling! the moulding! - so I keep hoping I'll run into the owners one day on the street. I would shamelessly out myself and beg/plead for a house tour.
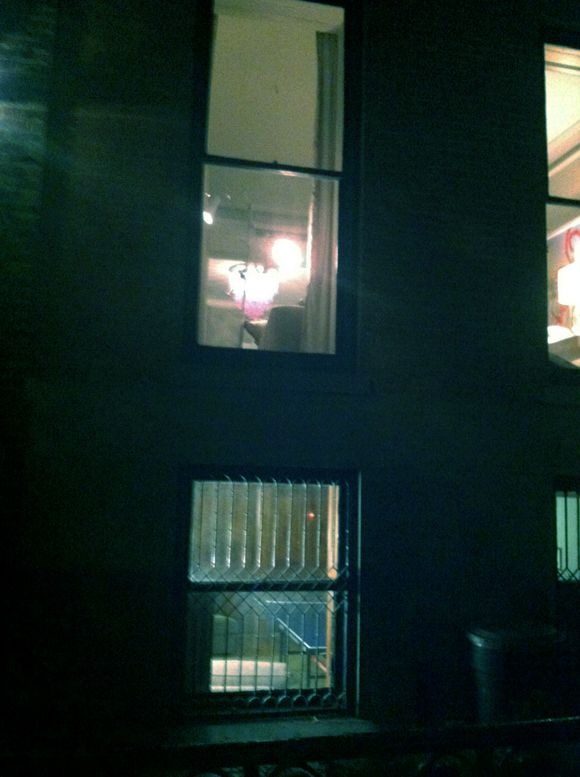
ANYWAY (wow, this is going to be a long post), the chandelier has been stuck in my brain for months now. I go out of my way to walk by it often and it's somehow even more lovely every time I see it peeking through those windows. When it came time for me to choose a color for the big brass chandelier, I knew there was no way I could pull off a lavender or lilac, but I thought a pale blue that leans toward periwinkle could actually be really cool.
Here's the full run down on how we painted this beast of a chandelier...
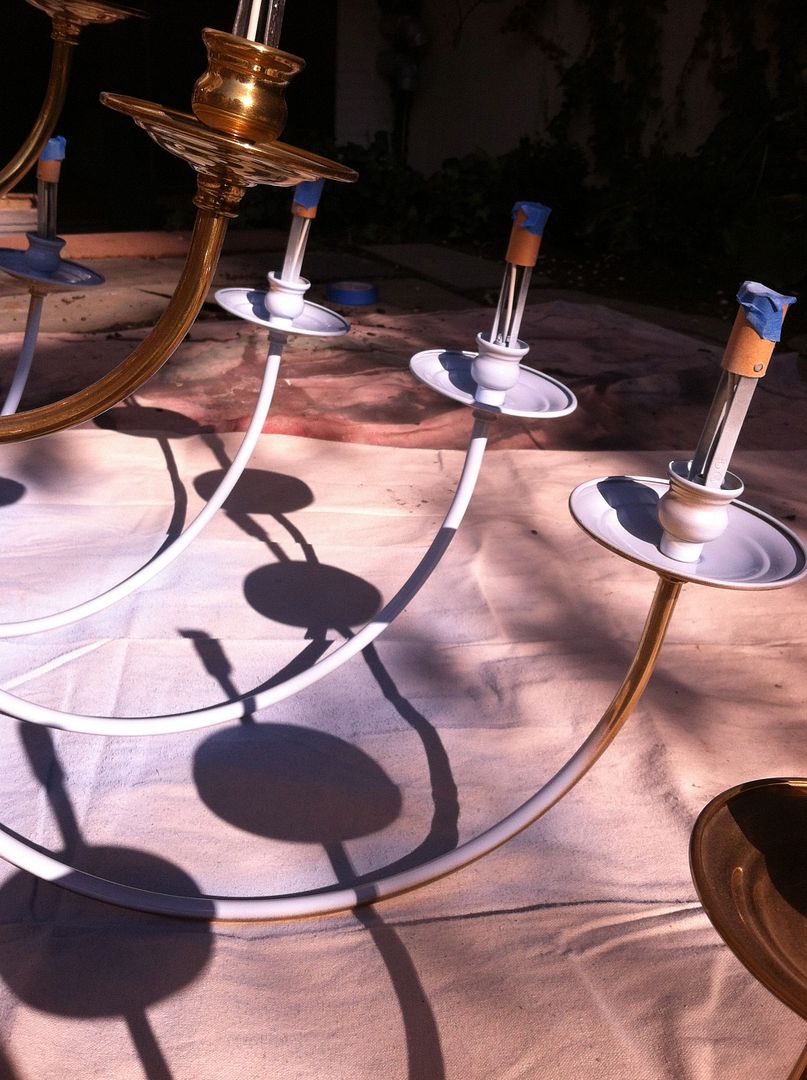
I enlisted the help of my girls to tape off the sockets on all 24 arms. Just a little piece of painters tape works fine. Make sure to take off all the candle sleeves first.

While I had the chandelier on the ground still, I wiped it down well and then lightly went over some parts with a leftover can of white spray primer I had lying around. This was a lazy step and I probably should have primed everything here, but I felt like it wasn't really necessary. Nothing really touches a chandelier after it gets installed anyway.

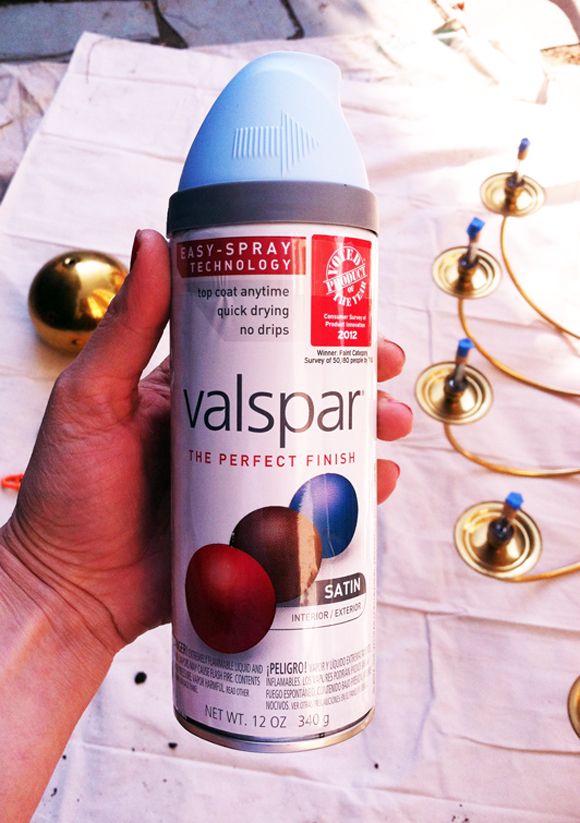
My local hardware store has a fantastic selection of spray paint. More brands and colors than the big box stores even. I really liked this Valspar color (Sky Blue) at the store, and then later I was super impressed generally with this paint (first time trying Valspar spray). Good coverage. Not too crazy in the smell department. Fast drying. Easy to spray.
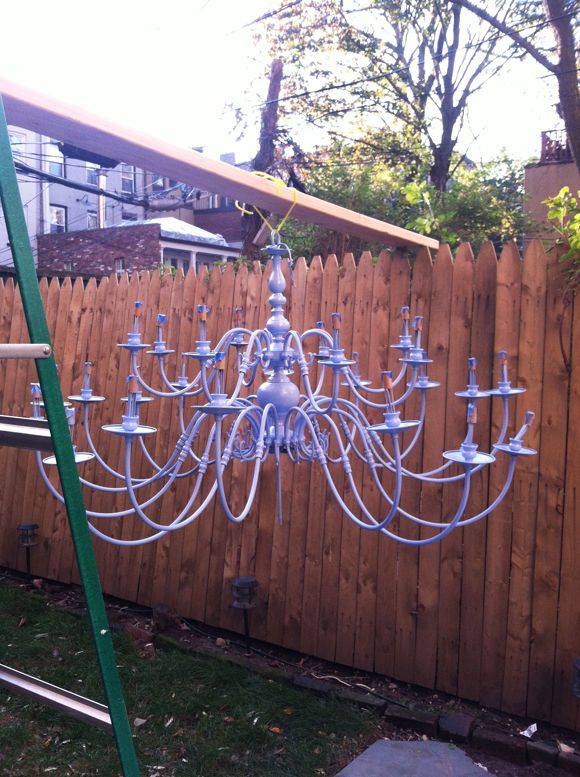
I think the best way to spray paint a light fixture is from the hanging position. We strung up the chandelier on a 2x4 between a ladder and our fence. That way I could easily walk around and under the chandelier and spray it from every angle.

And there were a LOT of angles.
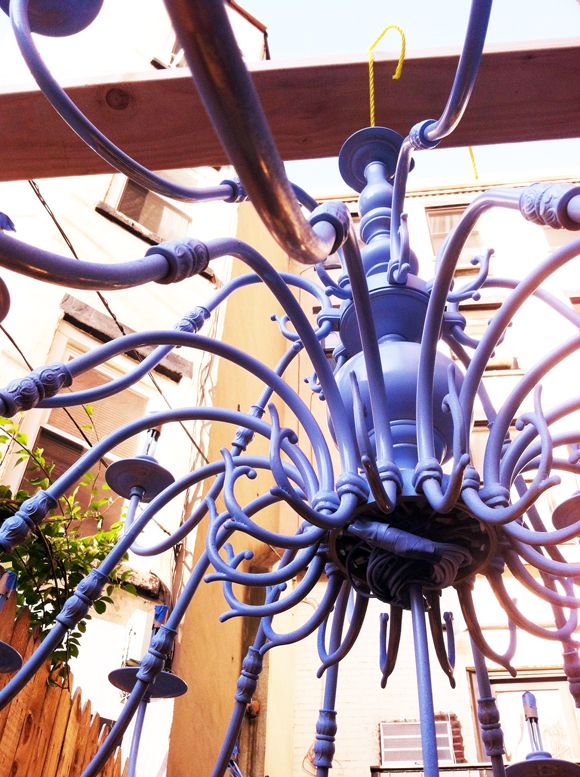
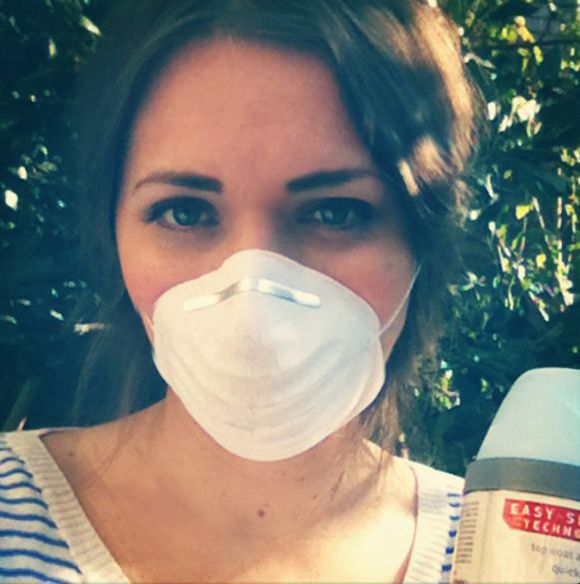
I'm not going to pretend this was a fast spray job. I went through six cans of spray paint to fully cover this 60" wide chandelier. I had paint all in my hair and there was a soft outline of a mask on my face. #periwinkleglow
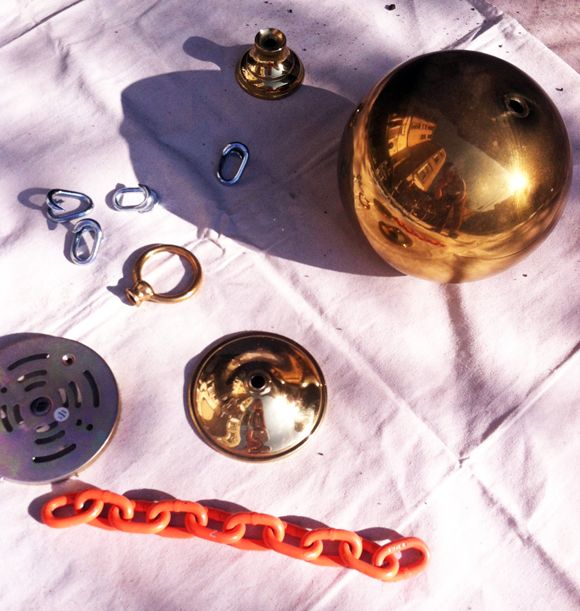
Some of the parts of the fixture needed to be painted on the ground. See the orange chain? I thought the chain that originally came with the light was a little on the wimpy side, so I used a chunkier one from the hardware store.
I was starting to get excited about the color right about here:
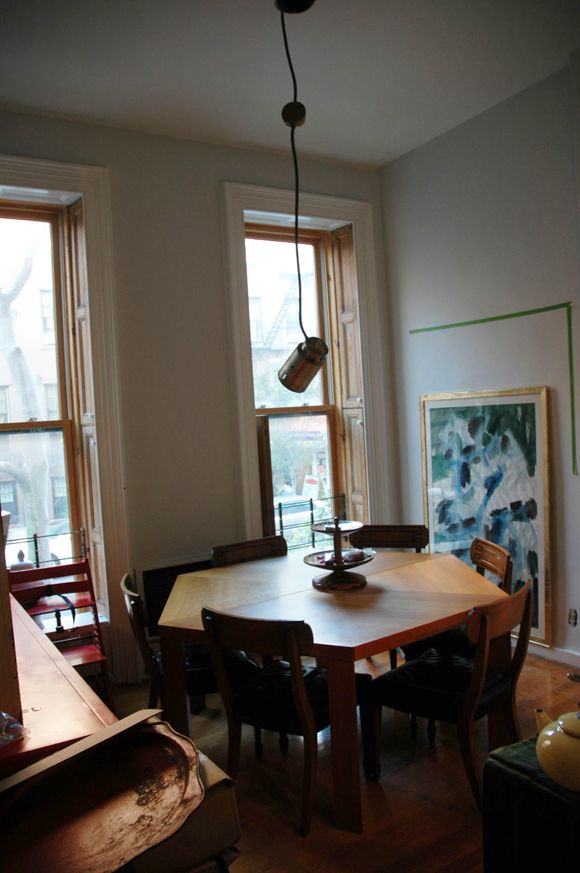
So, I wouldn't really recommend DIYing a big electrical install project like this one, but my super handy and wonderful dad was in town, and he was up for the challenge of hanging and hooking up the new chandelier. We took down the hideous old light and installed a new light kit that is made for heavy fixtures. It stretches between joists and grips into the wood.
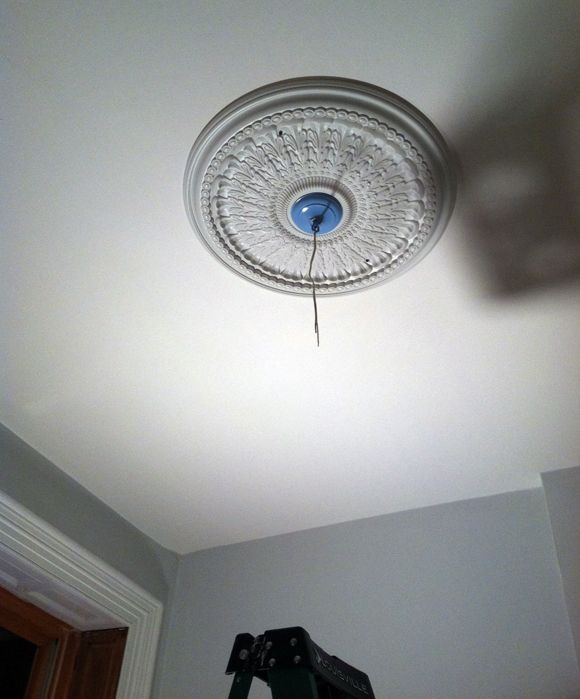
While we were working on the new light box, we threw up a ceiling medallion too. I wish I had planned more for this step and had ordered something big and extra special, but this one from Lowes worked fine in a pinch.
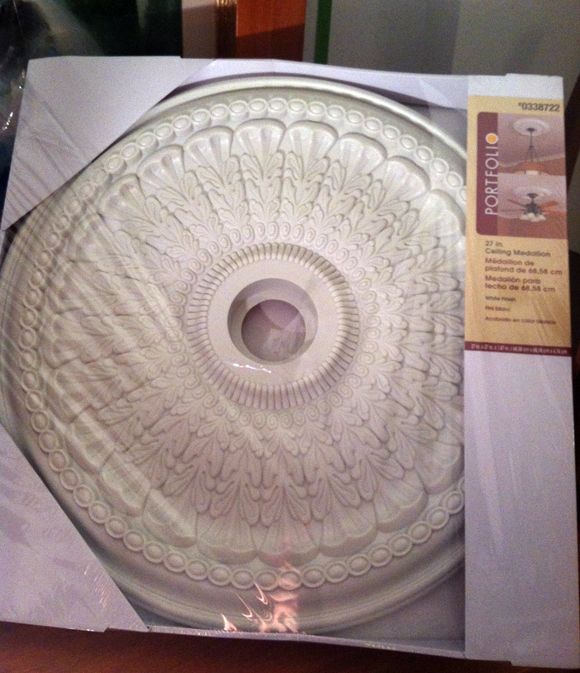
Here's the medallion and ceiling plate in. Wires ready to be spliced into the chandelier's after hanging it, which was a feat in and of itself - that thing is so heavy! If there had been an extra set of hands in the house, I would have had someone take a photo of that step, but we needed every adult to help hoist while Dad spliced.
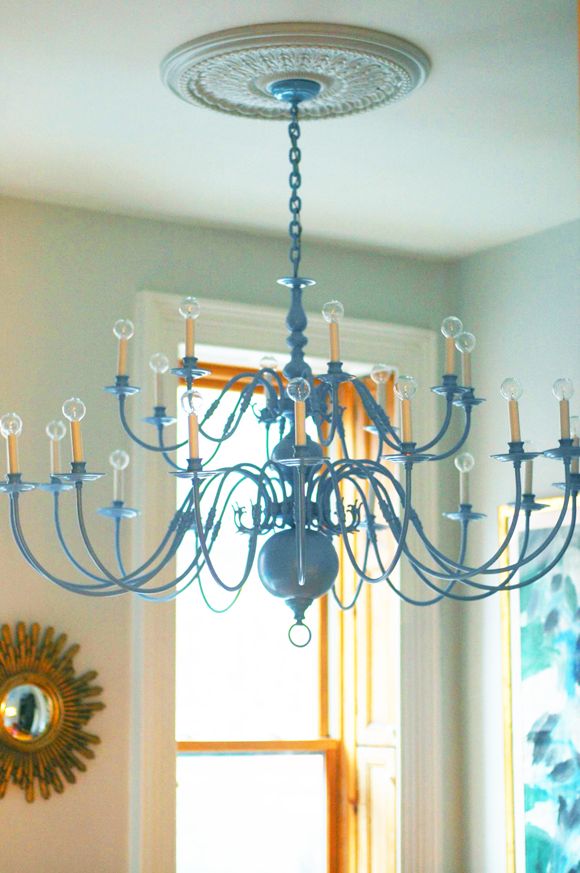
It's hard to really show just how big this chandelier is. It's enormous, and we love it.
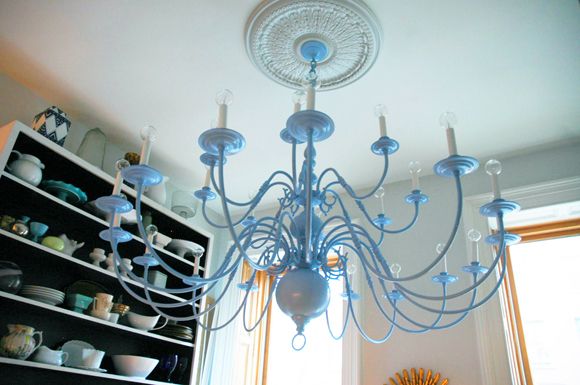
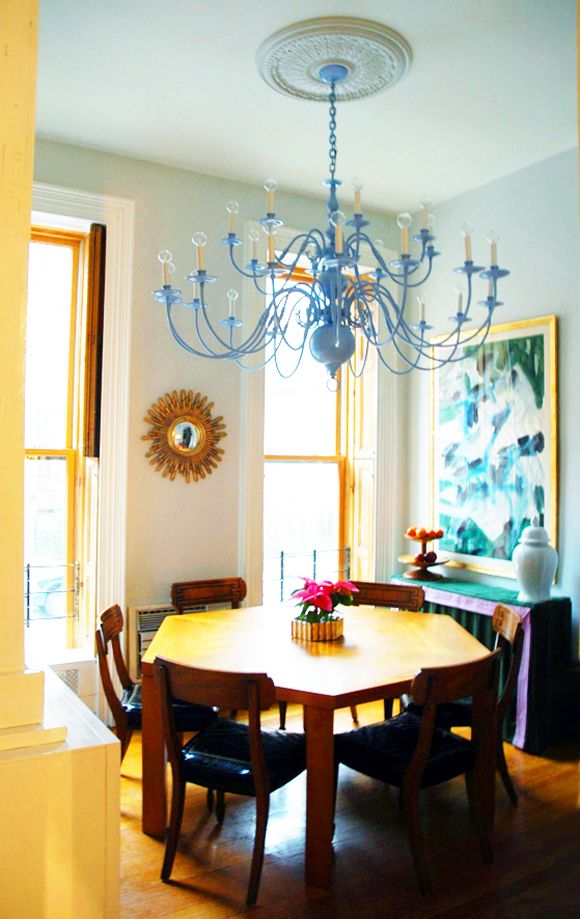
The color is just the right shade of periwinkle blue.
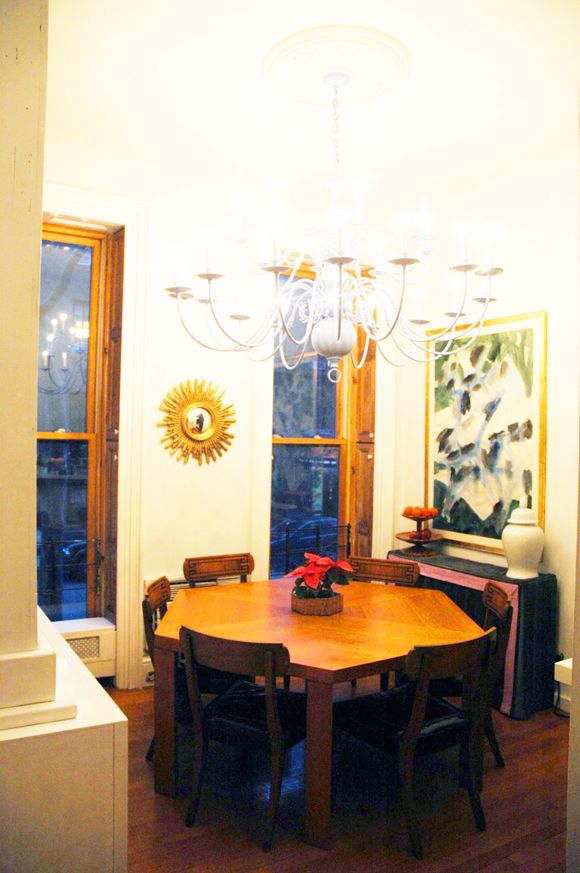
And those 24 bulbs make for a really bright meal!
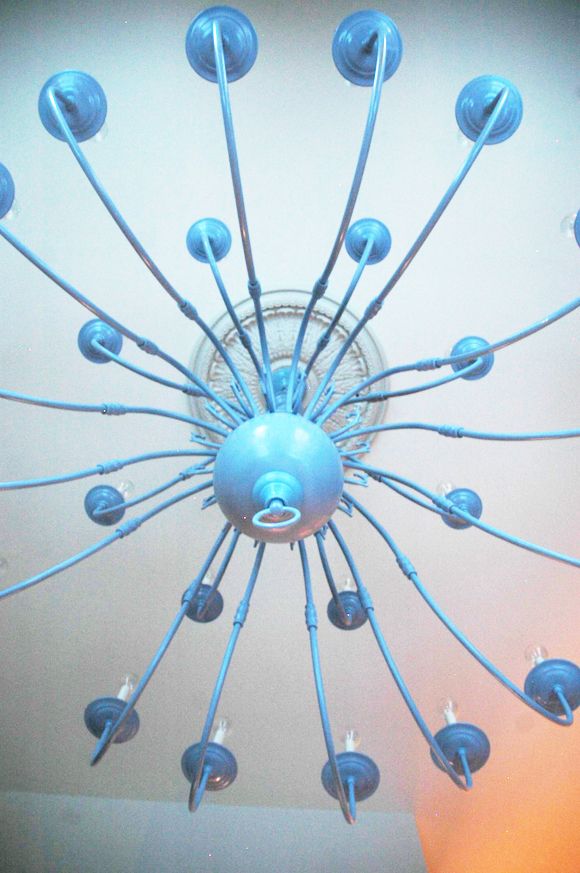
And the view from below is pretty.
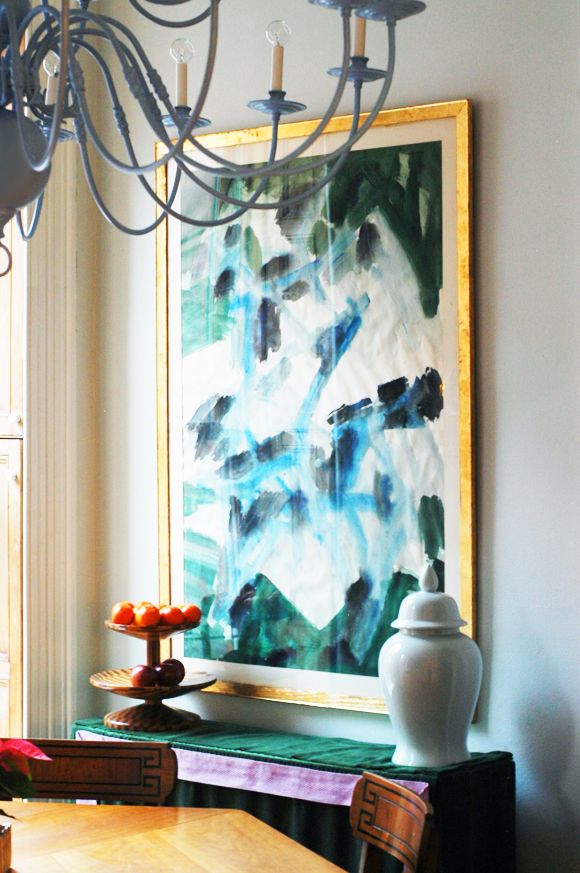
And! I love how it looks with my giant vintage abstract (it's hung the wrong way so it fits on the wall here, but I still like it).
AND! (best of all) Michael came home a couple nights ago and said there were some girls outside talking about how much they loved the chandelier and sneaking some photos with their phones. I was only creeped out for a second. Then I felt proud and less guilty for doing the same thing weeks before. Hopefully those girls will keep the periwinkle chandelier trend in our hood moving forward!