I've always loved the way that books make a home come alive. When we were planning on where to put all the books
from our office in the loft, there was only really one place to put the Billys - the living room. So we bought four more sets of the extender shelves and spent a few days last fall "building in" our IKEA bookshelves.
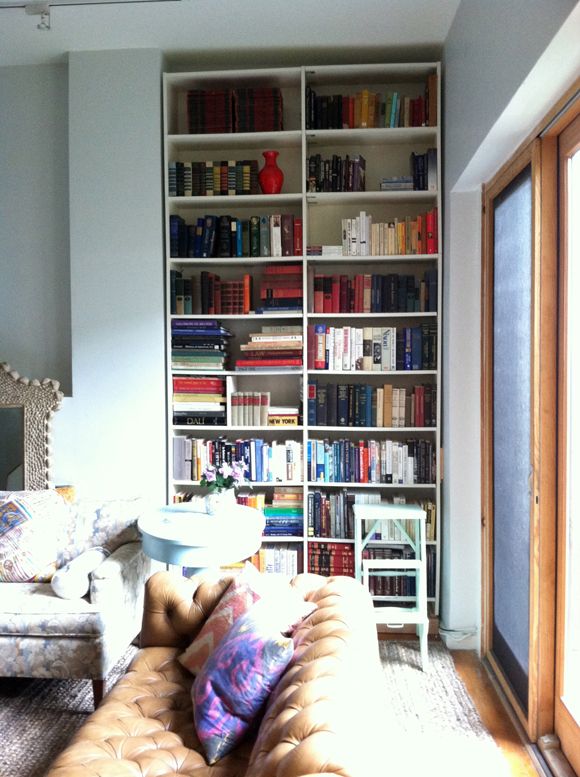
 Here's how the space looked on move in day. It looked like a giant H to me.
 I love it all so much more now. That nook was the worst! Ready for all the details on how we filled the nook and built up and in the Billy bookshelves?
This project got done much sooner than I had planned on. We moved into our place and we had a huge wall of book boxes that were oppressive and dangerous. So in an effort to make at least some progress on the house, we threw up the old Ikea Billy shelves on the wall flanking the fireplace and quickly unpacked the dozens of boxes. Here's what the shelves looked like for the first couple weeks we lived here:
Then my amazing parents, who are always up for a project, came in to town and on a whim we decided to tackle the bookshelf wall. We raced to Home Depot for supplies - lumber, moulding and drywall.

Joint compound, drywall tape and a grouting sponge...

We worked to quickly frame out the bookshelves and the nook in 2x4s. And actually we put 4x4s underneath the bookshelves, so they would be lifted up off the ground.
 We all signed the inside of the wall. :)
 Drywall was marked with chalk tape and cut with a razor blade knife.
 And the first pieces went up and we happily said goodbye to the nook.
 Once the drywall sheets were screwed into place, we taped the seams.
 Then we went over the drywall and the tape with joint compound.
 Meanwhile, after "wet sanding" the joint compound with the big grout sponge, we also started the crown moulding. Also, I'd love to point out the obvious here - that we should have taken down all the books first. They were a dusty mess after all the work we did! I just didn't really have a place to put all of them before we started. I told you this was a spur of the moment project!
 Probably my favorite part of the project was the footing of the shelves. Like I said, we sat the bookshelves on three 4x4s running lengthwise. This gave the bottom a lot of height.
 Then we framed out the whole bottom with 2x8s, which gave the bookshelves a really chunky base and made them look less IKEA I think.
 For the face of the bookshelves, we found this great small moulding at Home Depot too. We measured and cut everything to size and then sprayed it with a black gloss enamel.
 It was so easy to add the moulding with my brad gun. We used thicker stripe moulding for all the vertical lines.
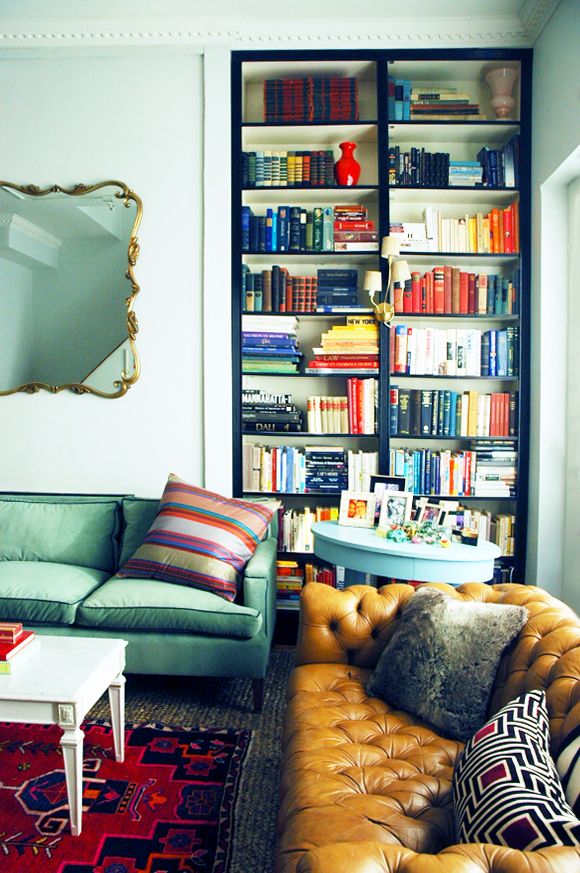
I love how the white shelves and shelf backs contrast with the dark black trim on the face of the shelves.

Not bad for just the cost of some lumber and supplies and a few Billy Extender shelves! Now just to find a mirror that better fits that wall space!
And also, to make a sofa back table to help hide the fireplace a little more and to hold a pair of lamps.
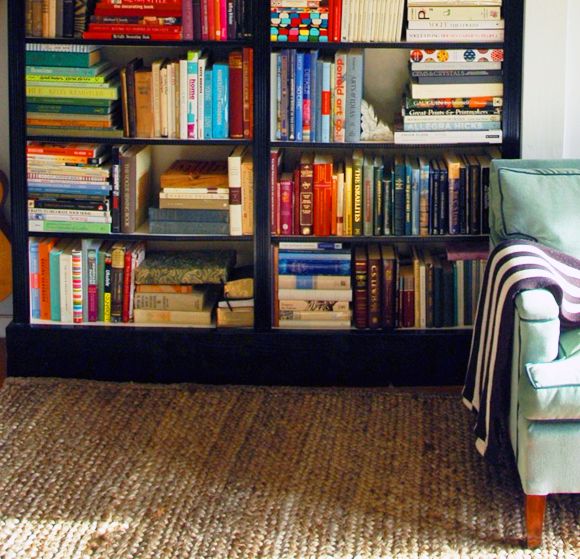
I tried a new method for organizing books - one that's functional and pretty! I'm excited to share the how-to!
How was your weekend?